The Best Jerky Treats Ever!
I bet you read the title of this blog and think I’ve gone out of my mind! Jerky treats are dangerous, the ones from China have sickened and killed dogs. Not only that, they are expensive, typically $10 – $15 for a package that is less than a pound!
You’ll be relieved to hear that these are not the jerky treats I am talking about. I’m going to show you exactly how I make jerky treats for my own dogs. Making my own jerky lets me treat my dogs to various meats of human quality, and saves me money. And it only takes about 20 minutes of working time to get a batch started.
First, you’ll need some tools. The first one is a dehydrator. My preference is for the Nesco FD-75A Snackmaster Pro Food Dehydrator I’ve used mine for years, and it has been reliable and efficient. The key feature for me is that the heat comes from a fan in the lid. This means I don’t have rotate trays as is the case in other dehydrators. There is also the option to purchase additional trays if you want to do large batches. It can also be used for dehydrating fruits, veggies, nuts, and herbs. There are a couple other key features pointed out in the instructions below.
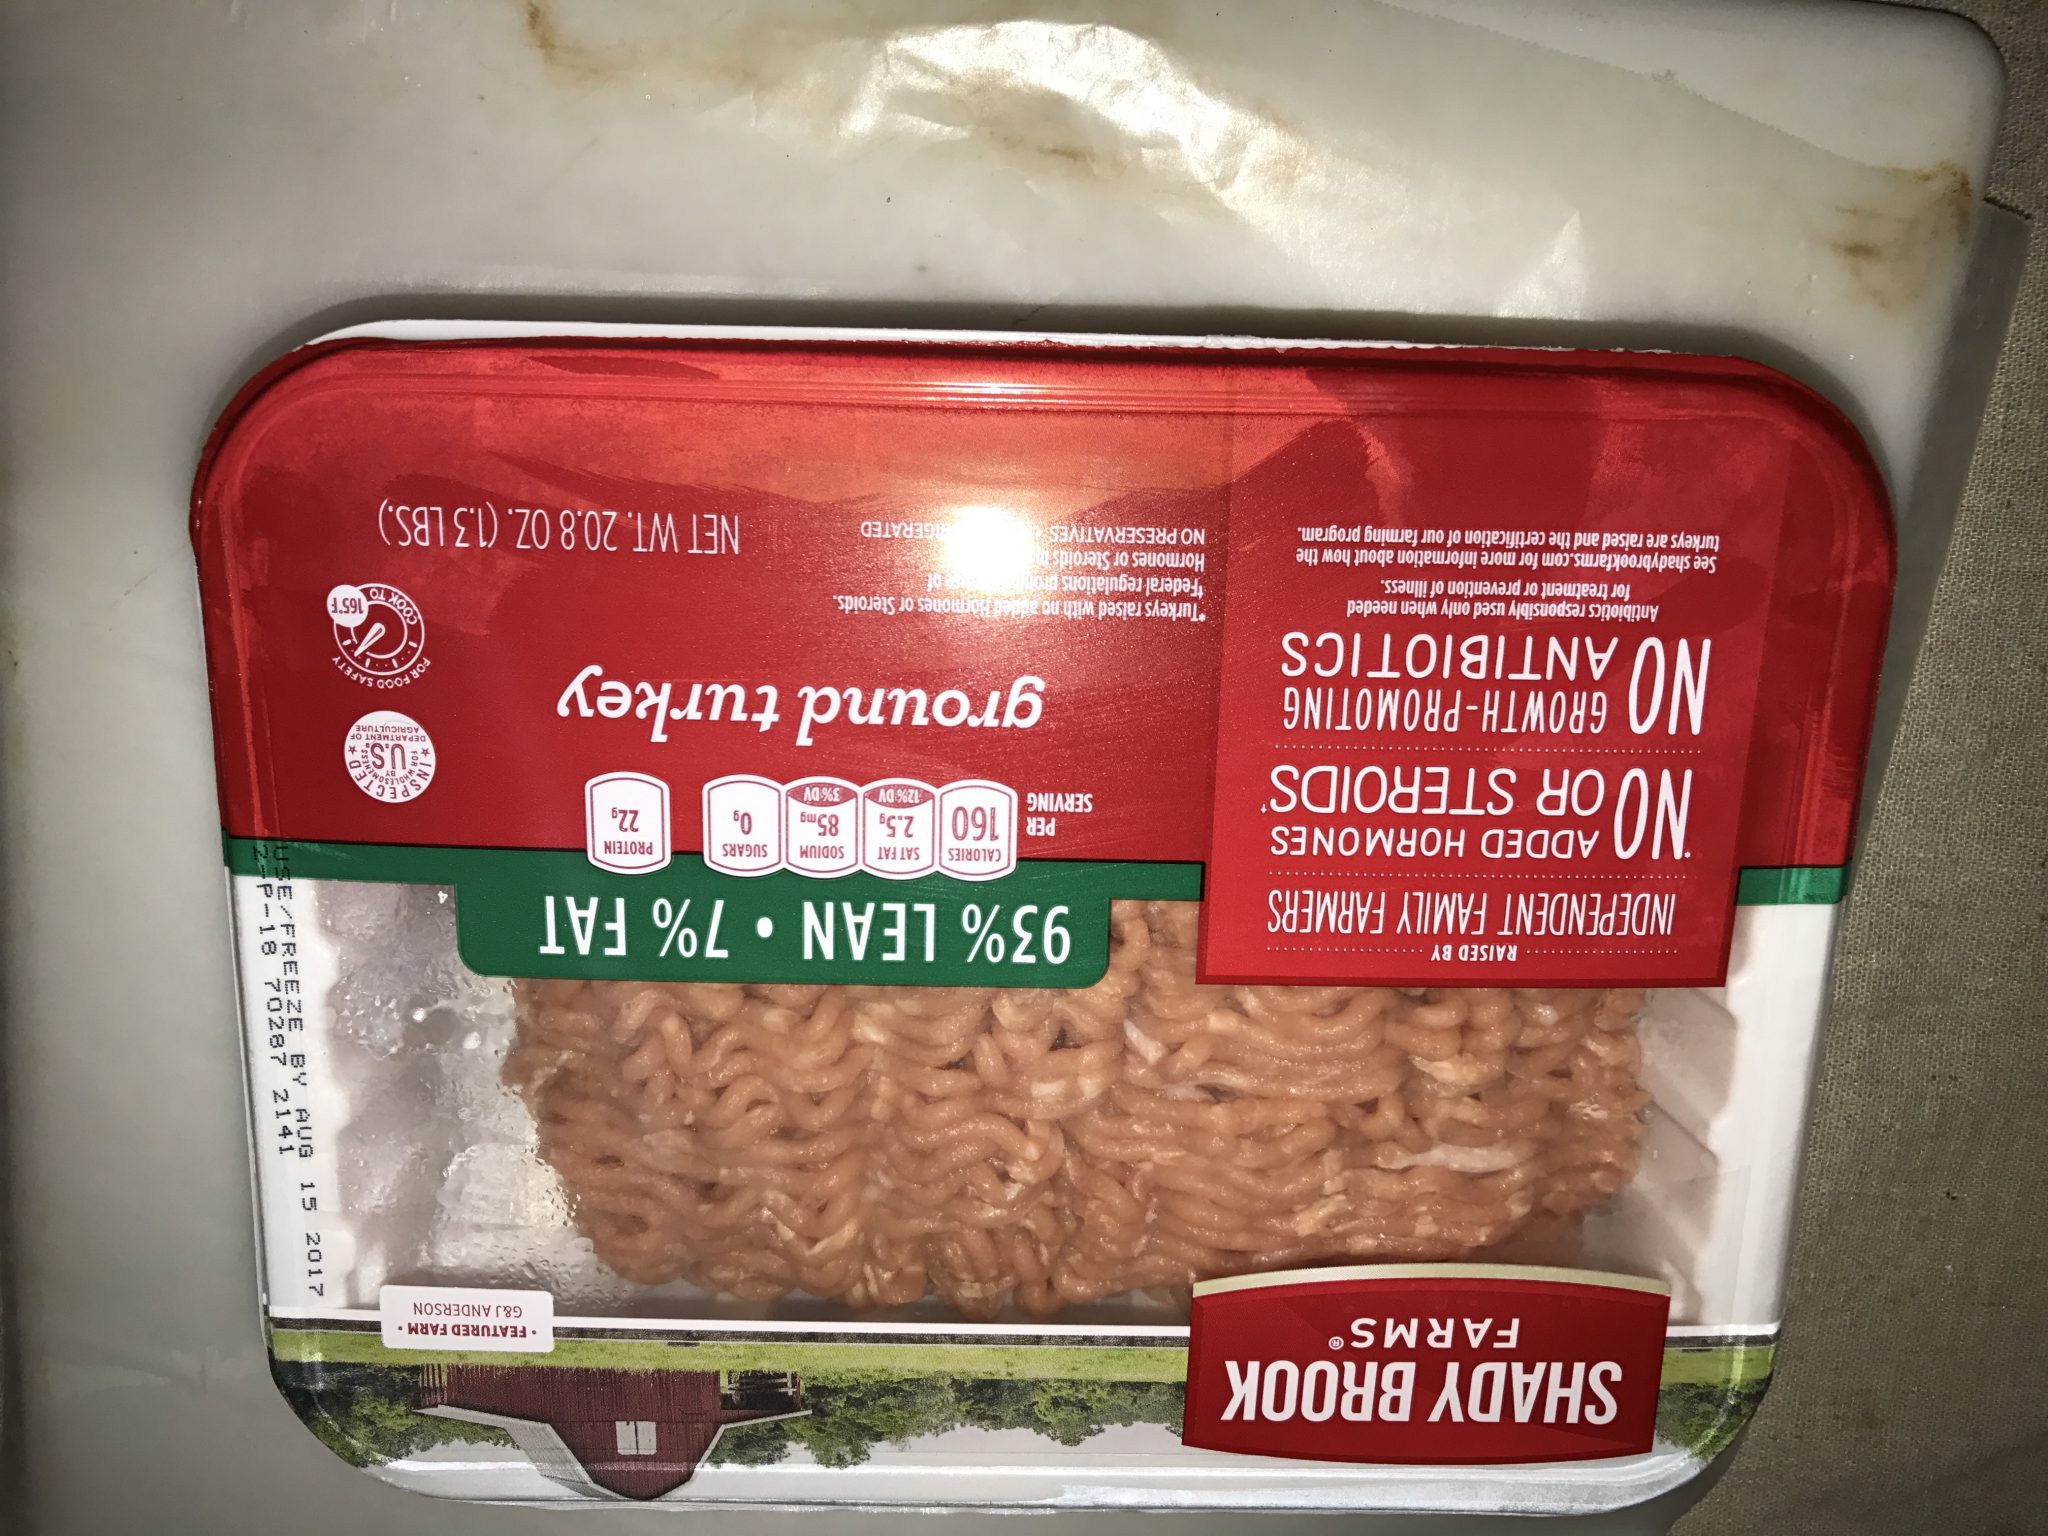 Next, you’ll need meat. I usually use ground meats for my training treat jerky, but you can also used thinly sliced meats. If you want crispy jerky, use meat about 1/8 inch think. Chewier jerky comes from 1/4 inch thick meat. I chose ground turkey for today’s batch. It was on sale for $1.99 a pound, and is 93% lean, so I don’t worry about giving a lot of it at training tomorrow.
You’ll also need some basic kitchen utensils — a cutting board or other suitable flat workspace, waxed paper, a rolling pin, pizza wheel or knife, and a spatula.
First gather your supplies:
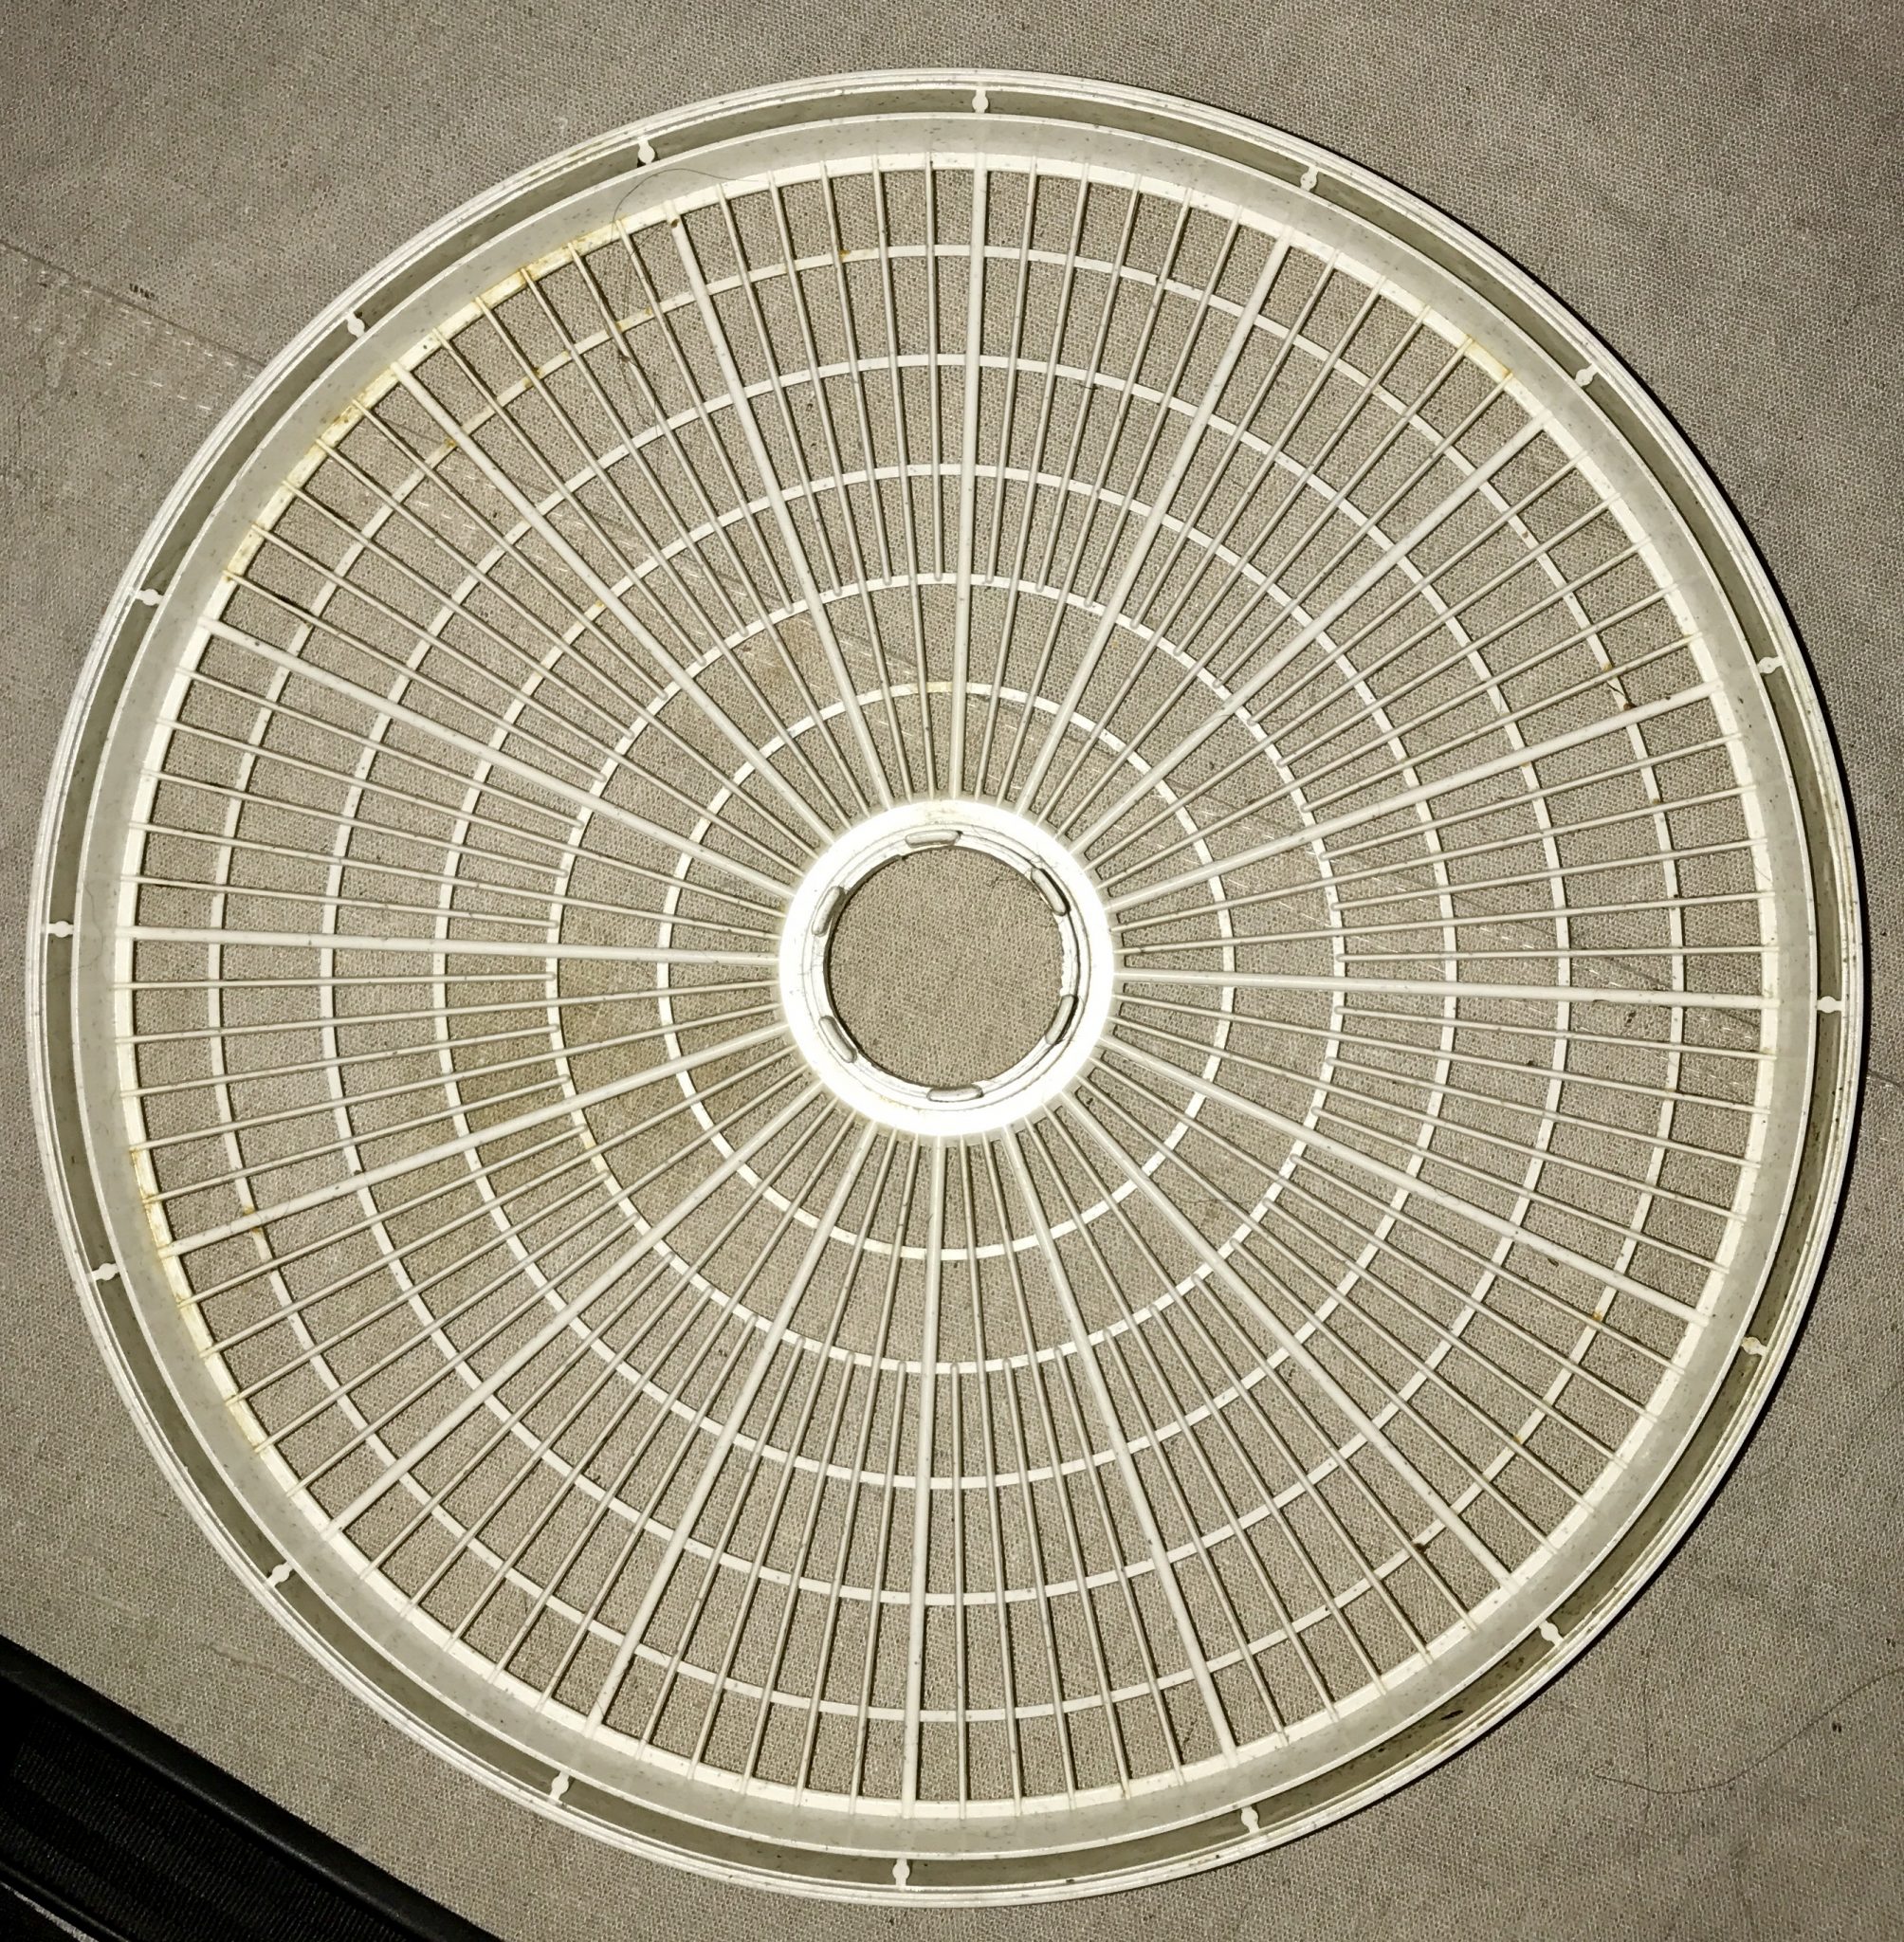
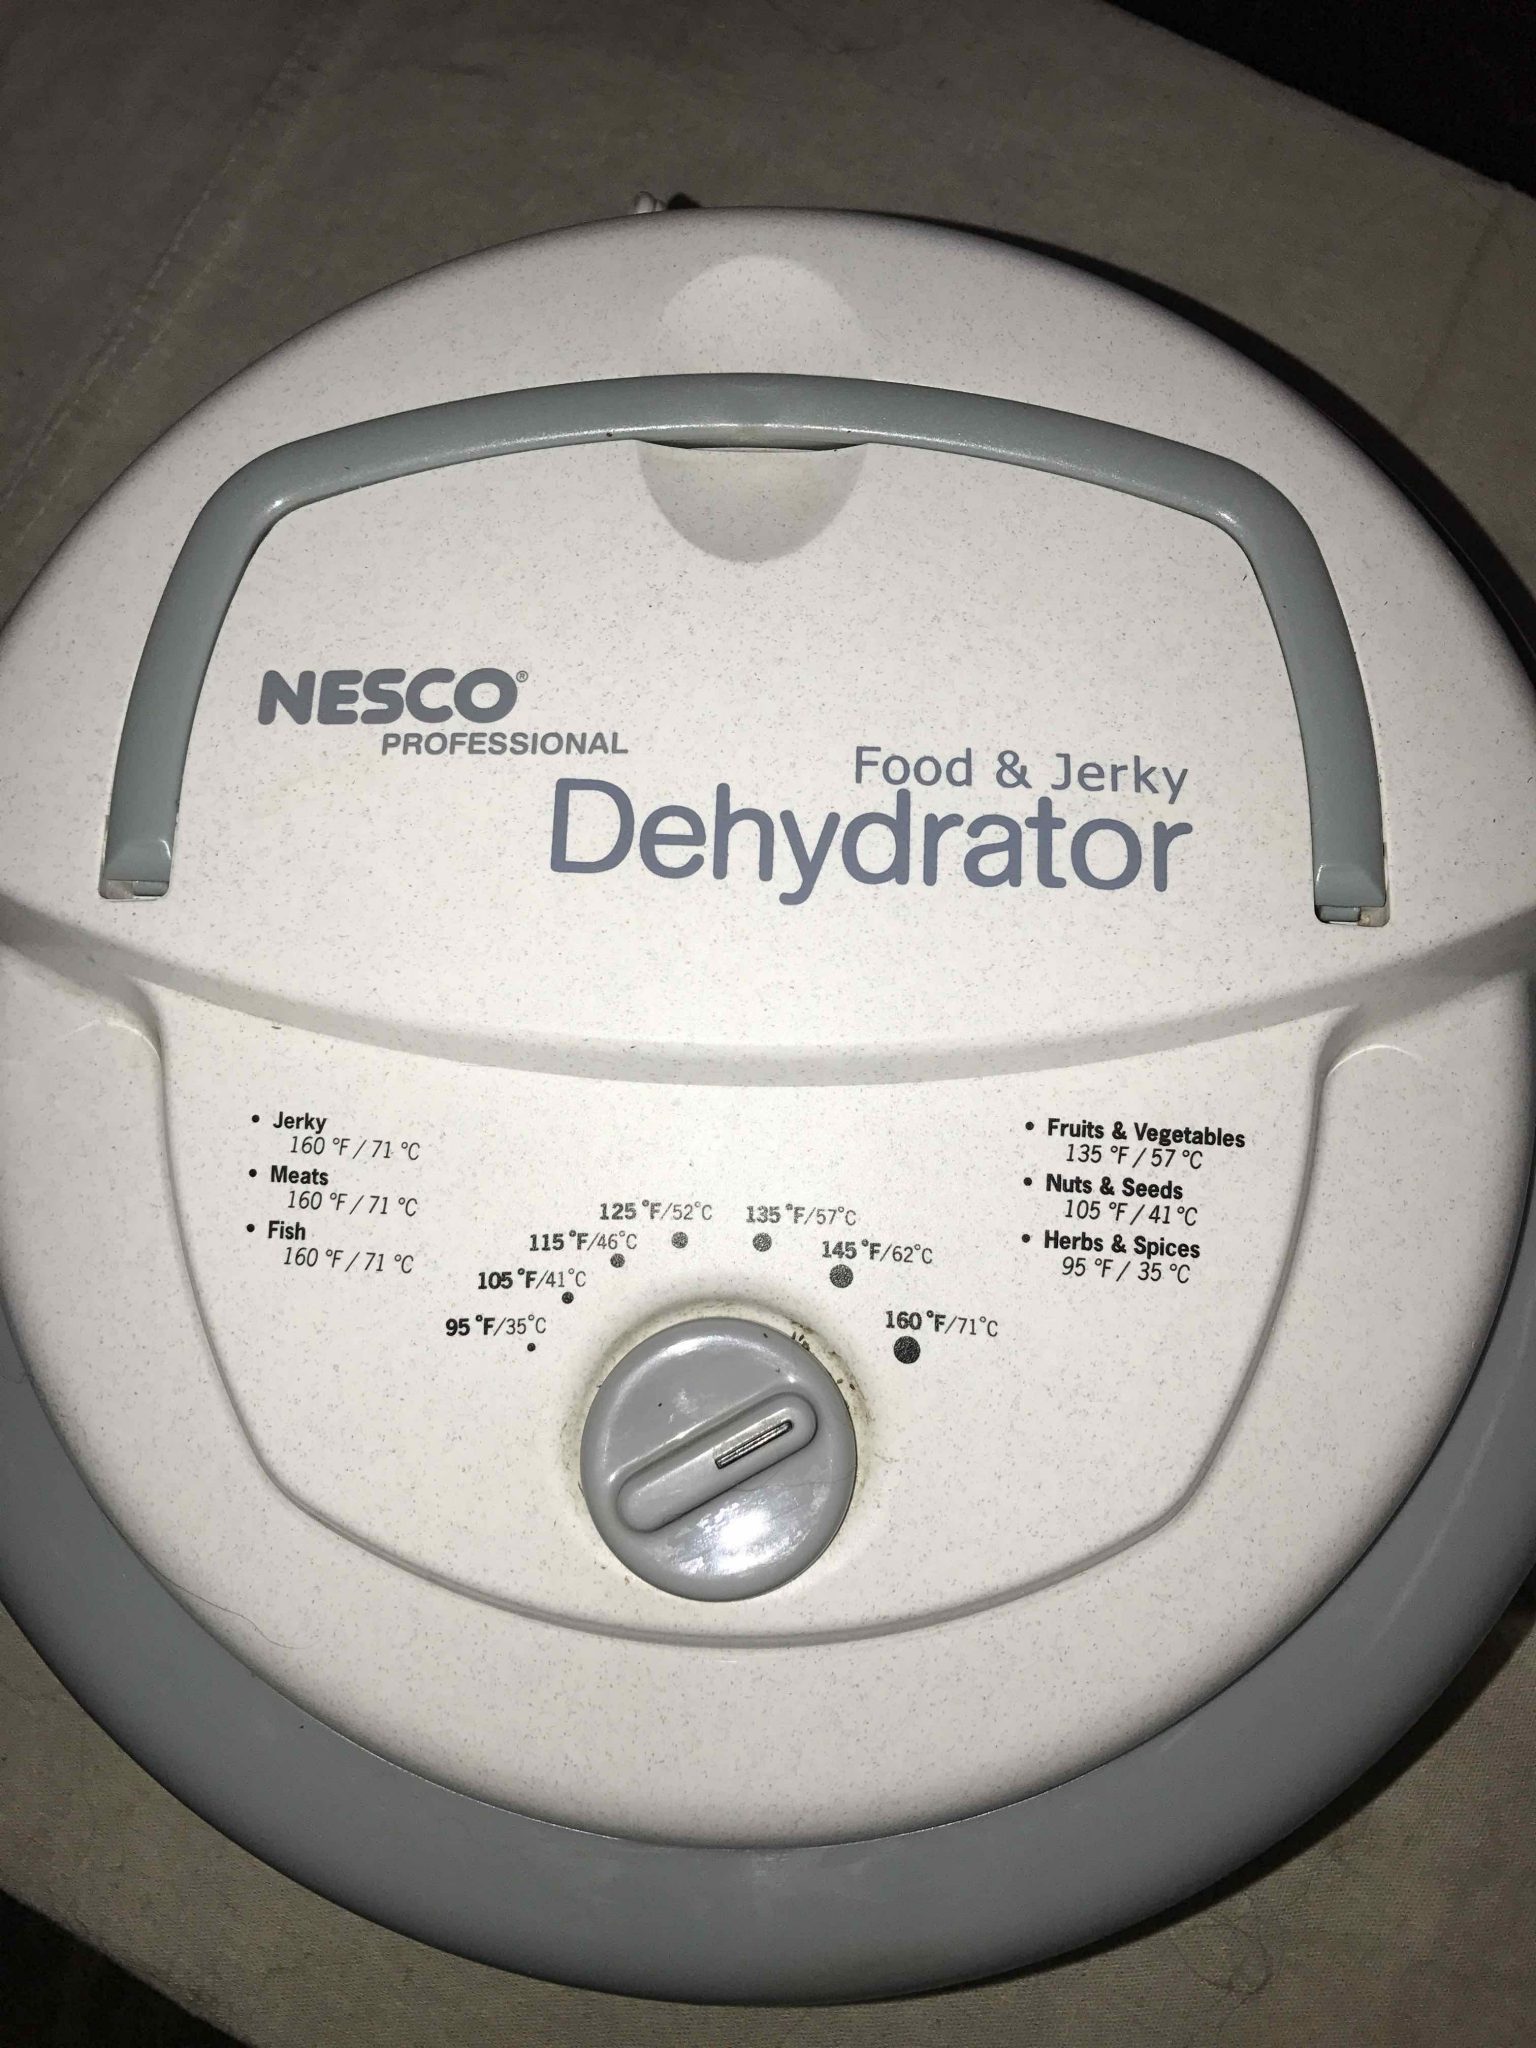 This is the top view of the dehydrator. There’s a handy temperature guide right by the temperature dial. Set it to 160 degrees for meats.
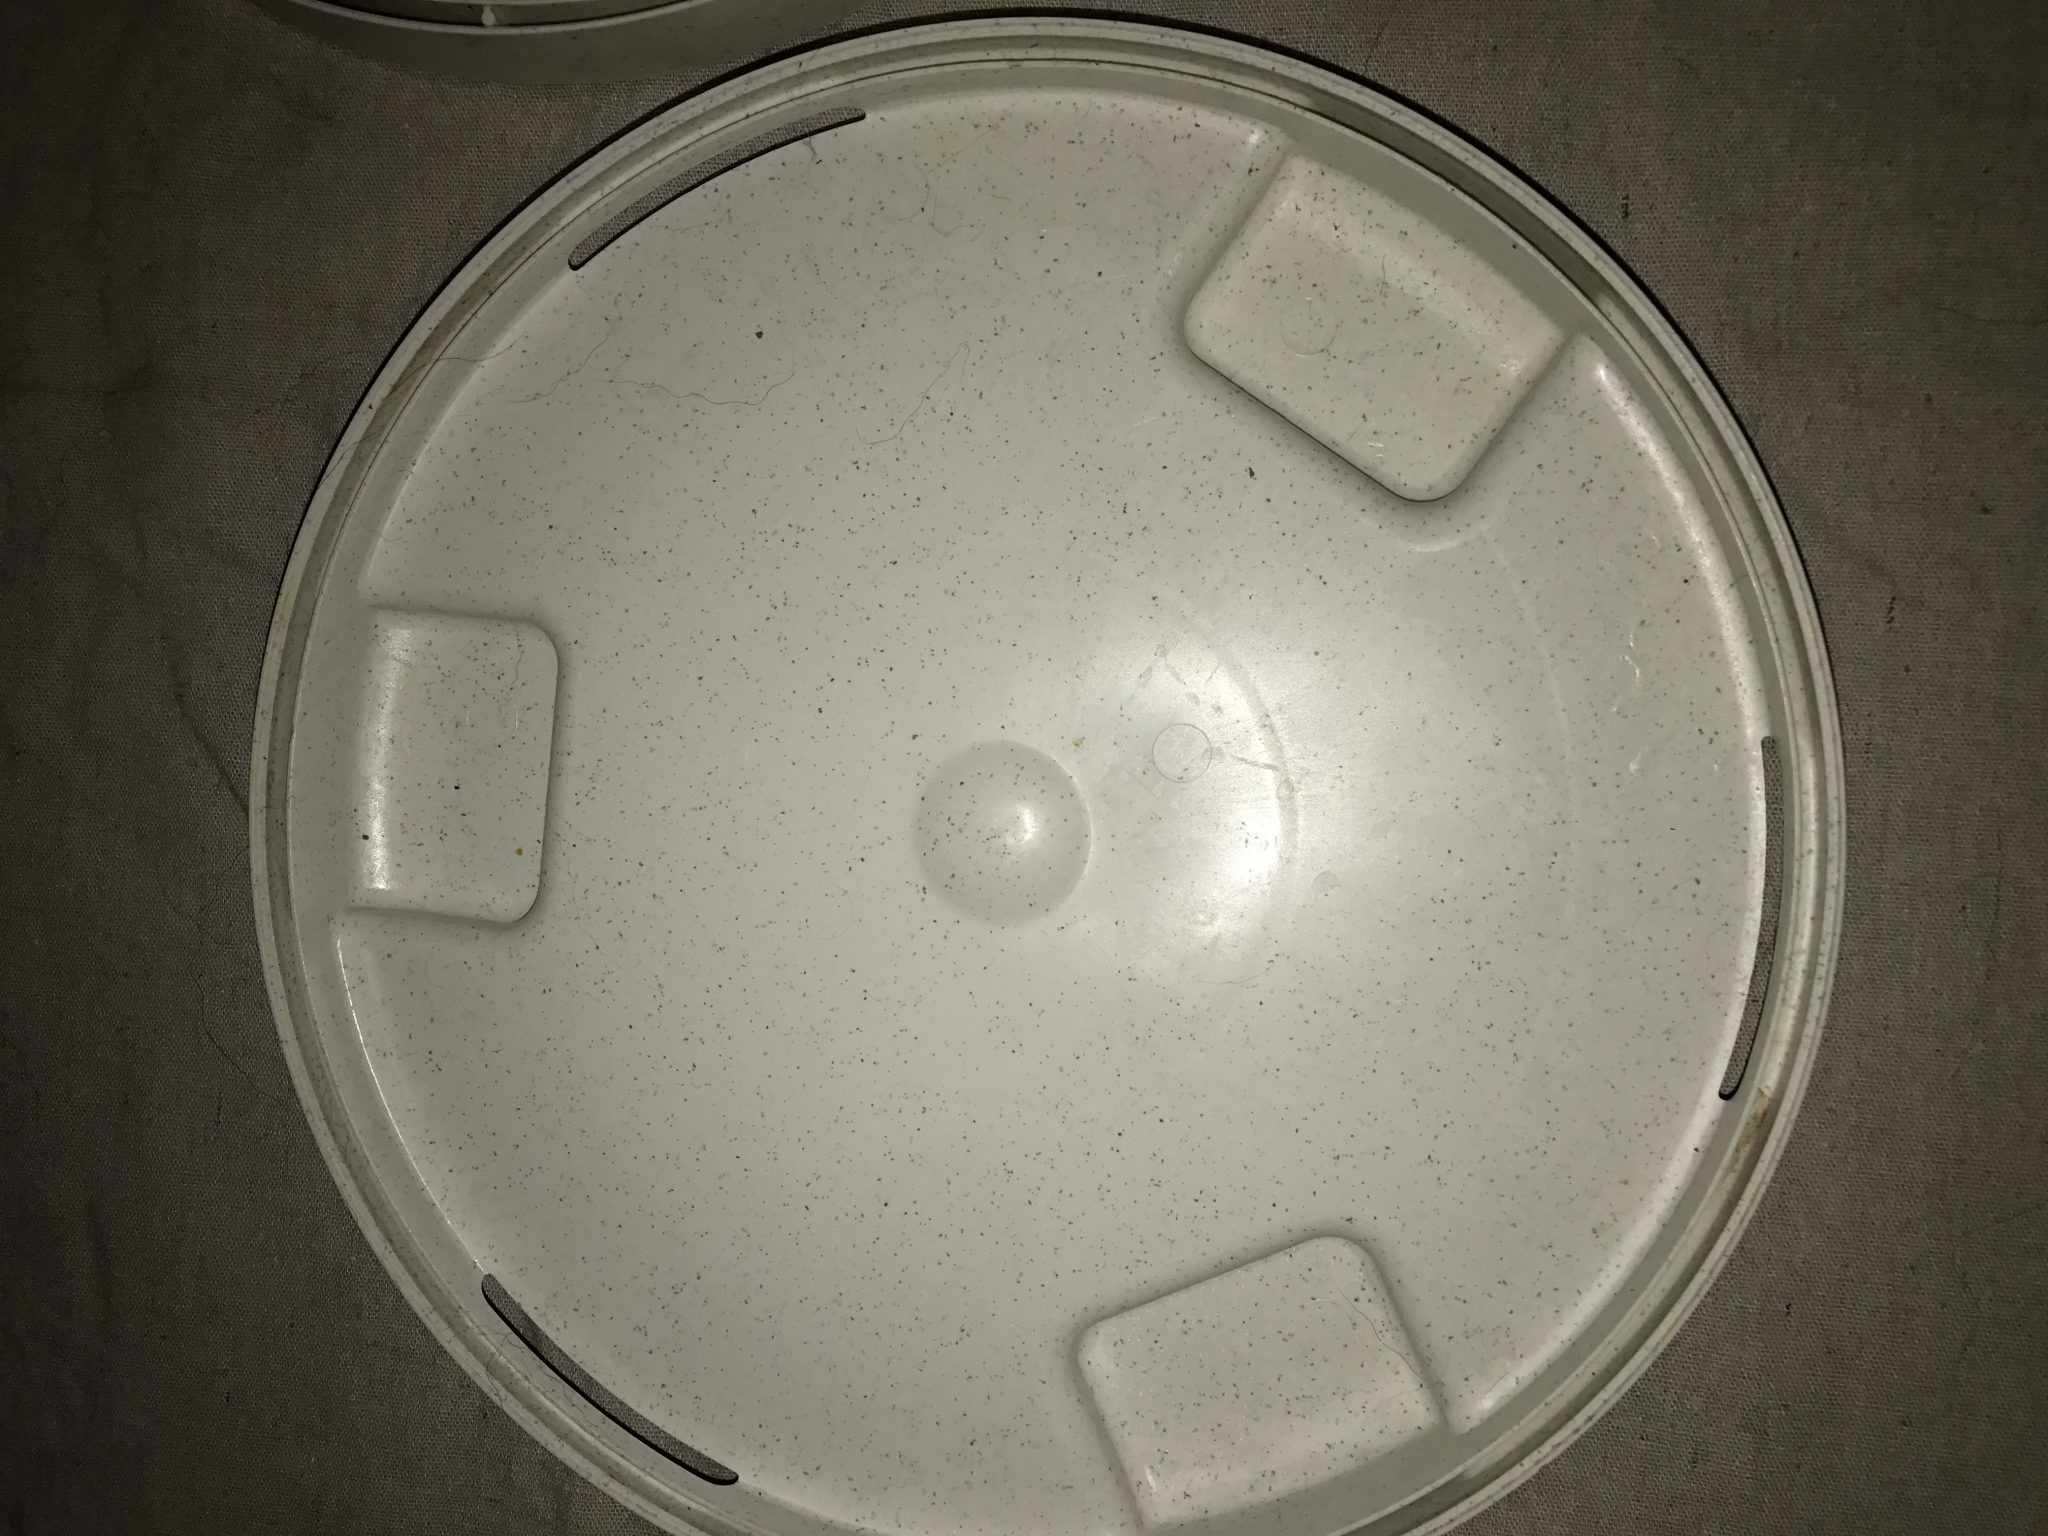 This is the bottom of the dehydrator. Notice it is solid, except for 4 openings at the edge. This allows air flow, and moderates the temperature in the dehydrator. However, if you are dehydrating very fatty meats, grease will drip through these vents.
One of the reasons I love the Nesco brand is this insert which will catch the grease that drips 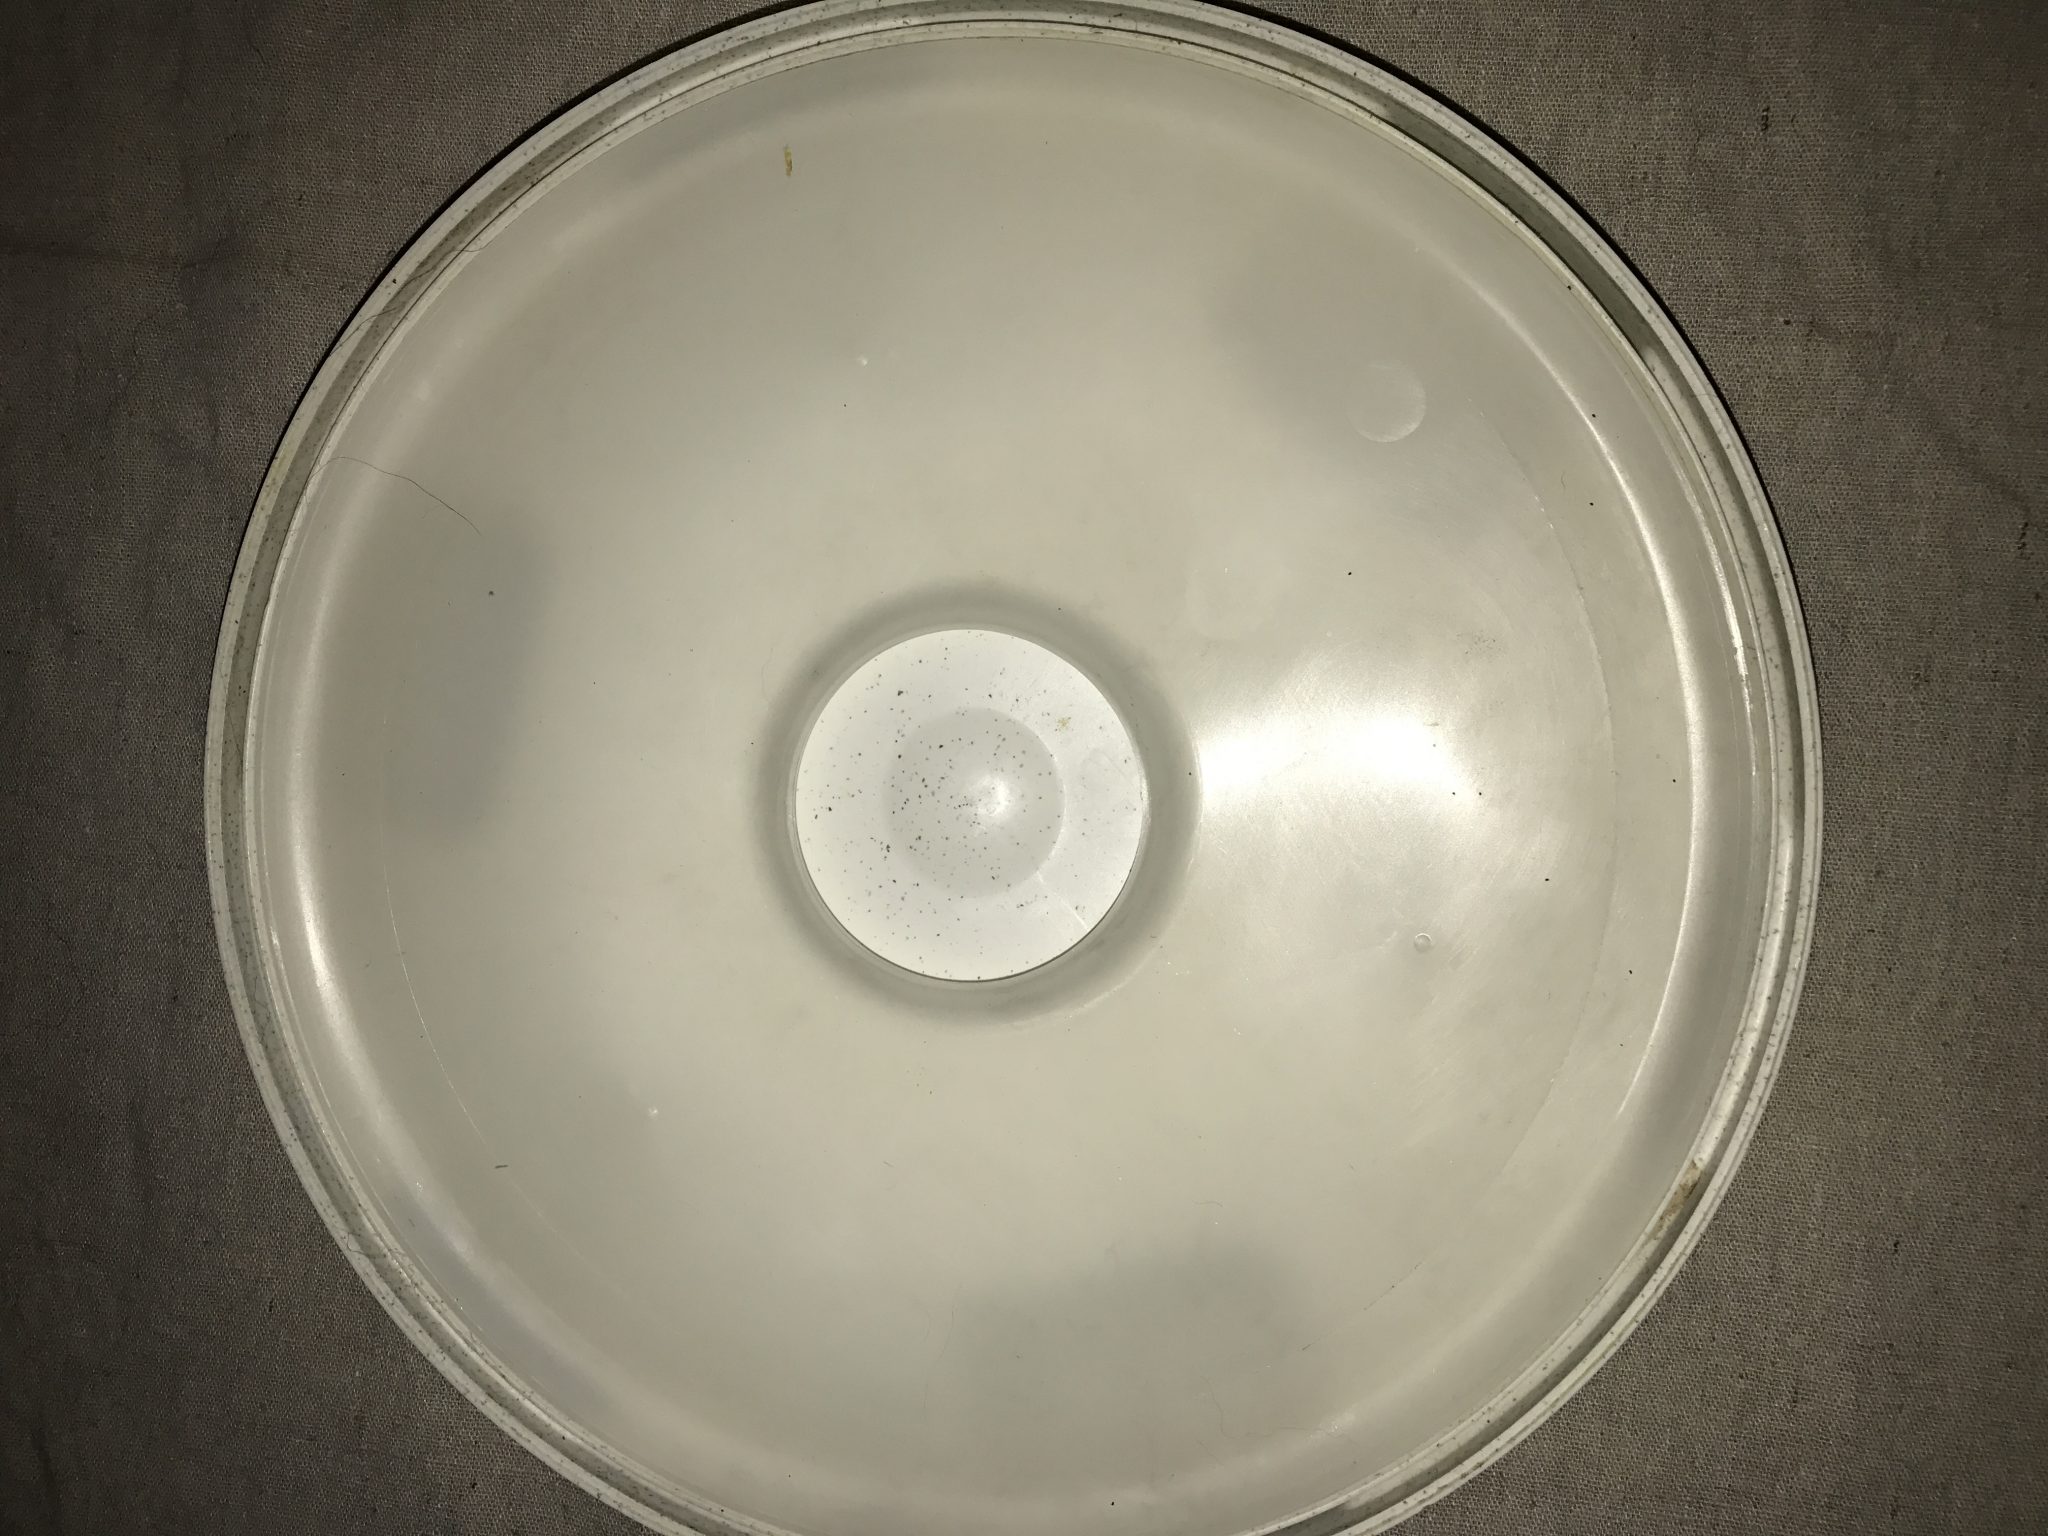 down! Be sure you put it in as you set up your trays.
 The dehydrator comes with several stackable trays. You can use as few or as many as you need.
You will need wax paper and a rolling pin.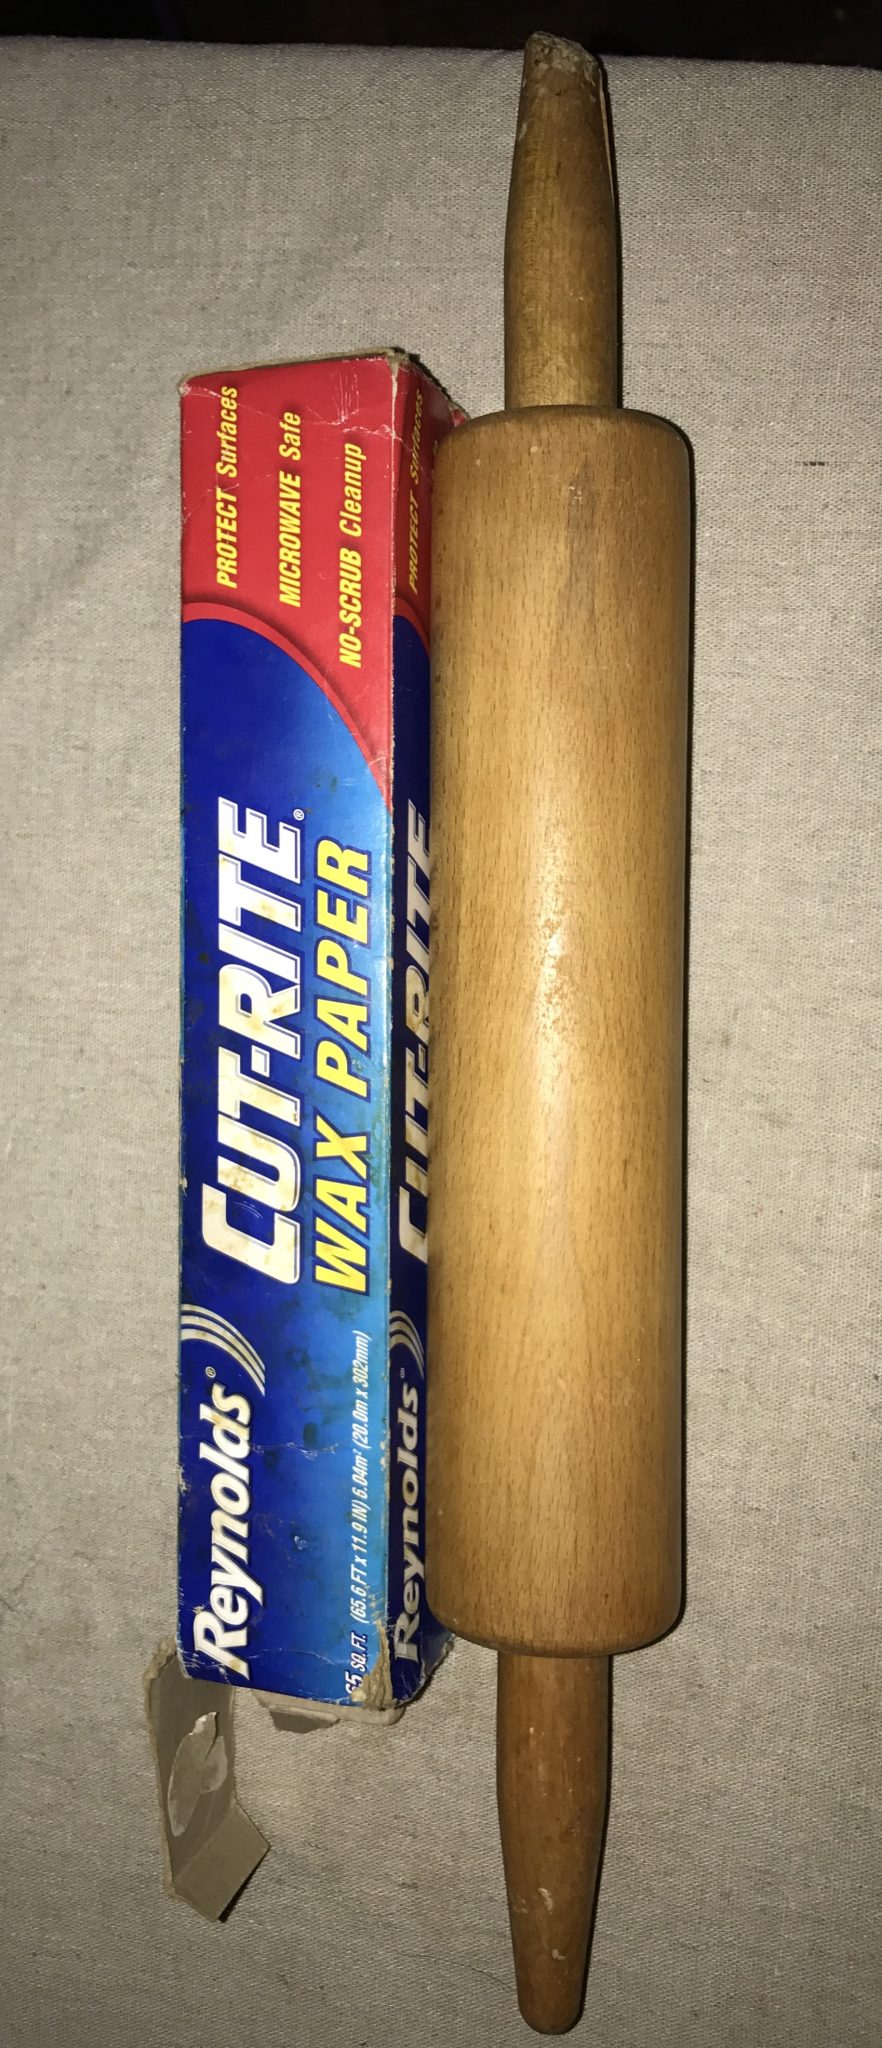
Next, get your meat. I have used ground beef, chicken, pork, and turkey. Beef and pork tend to be drier, and easier to work with. Poultry has a thinner texture and more water, so I recommend making it thicker or adding a bit of potato flour to make it easier to work with. 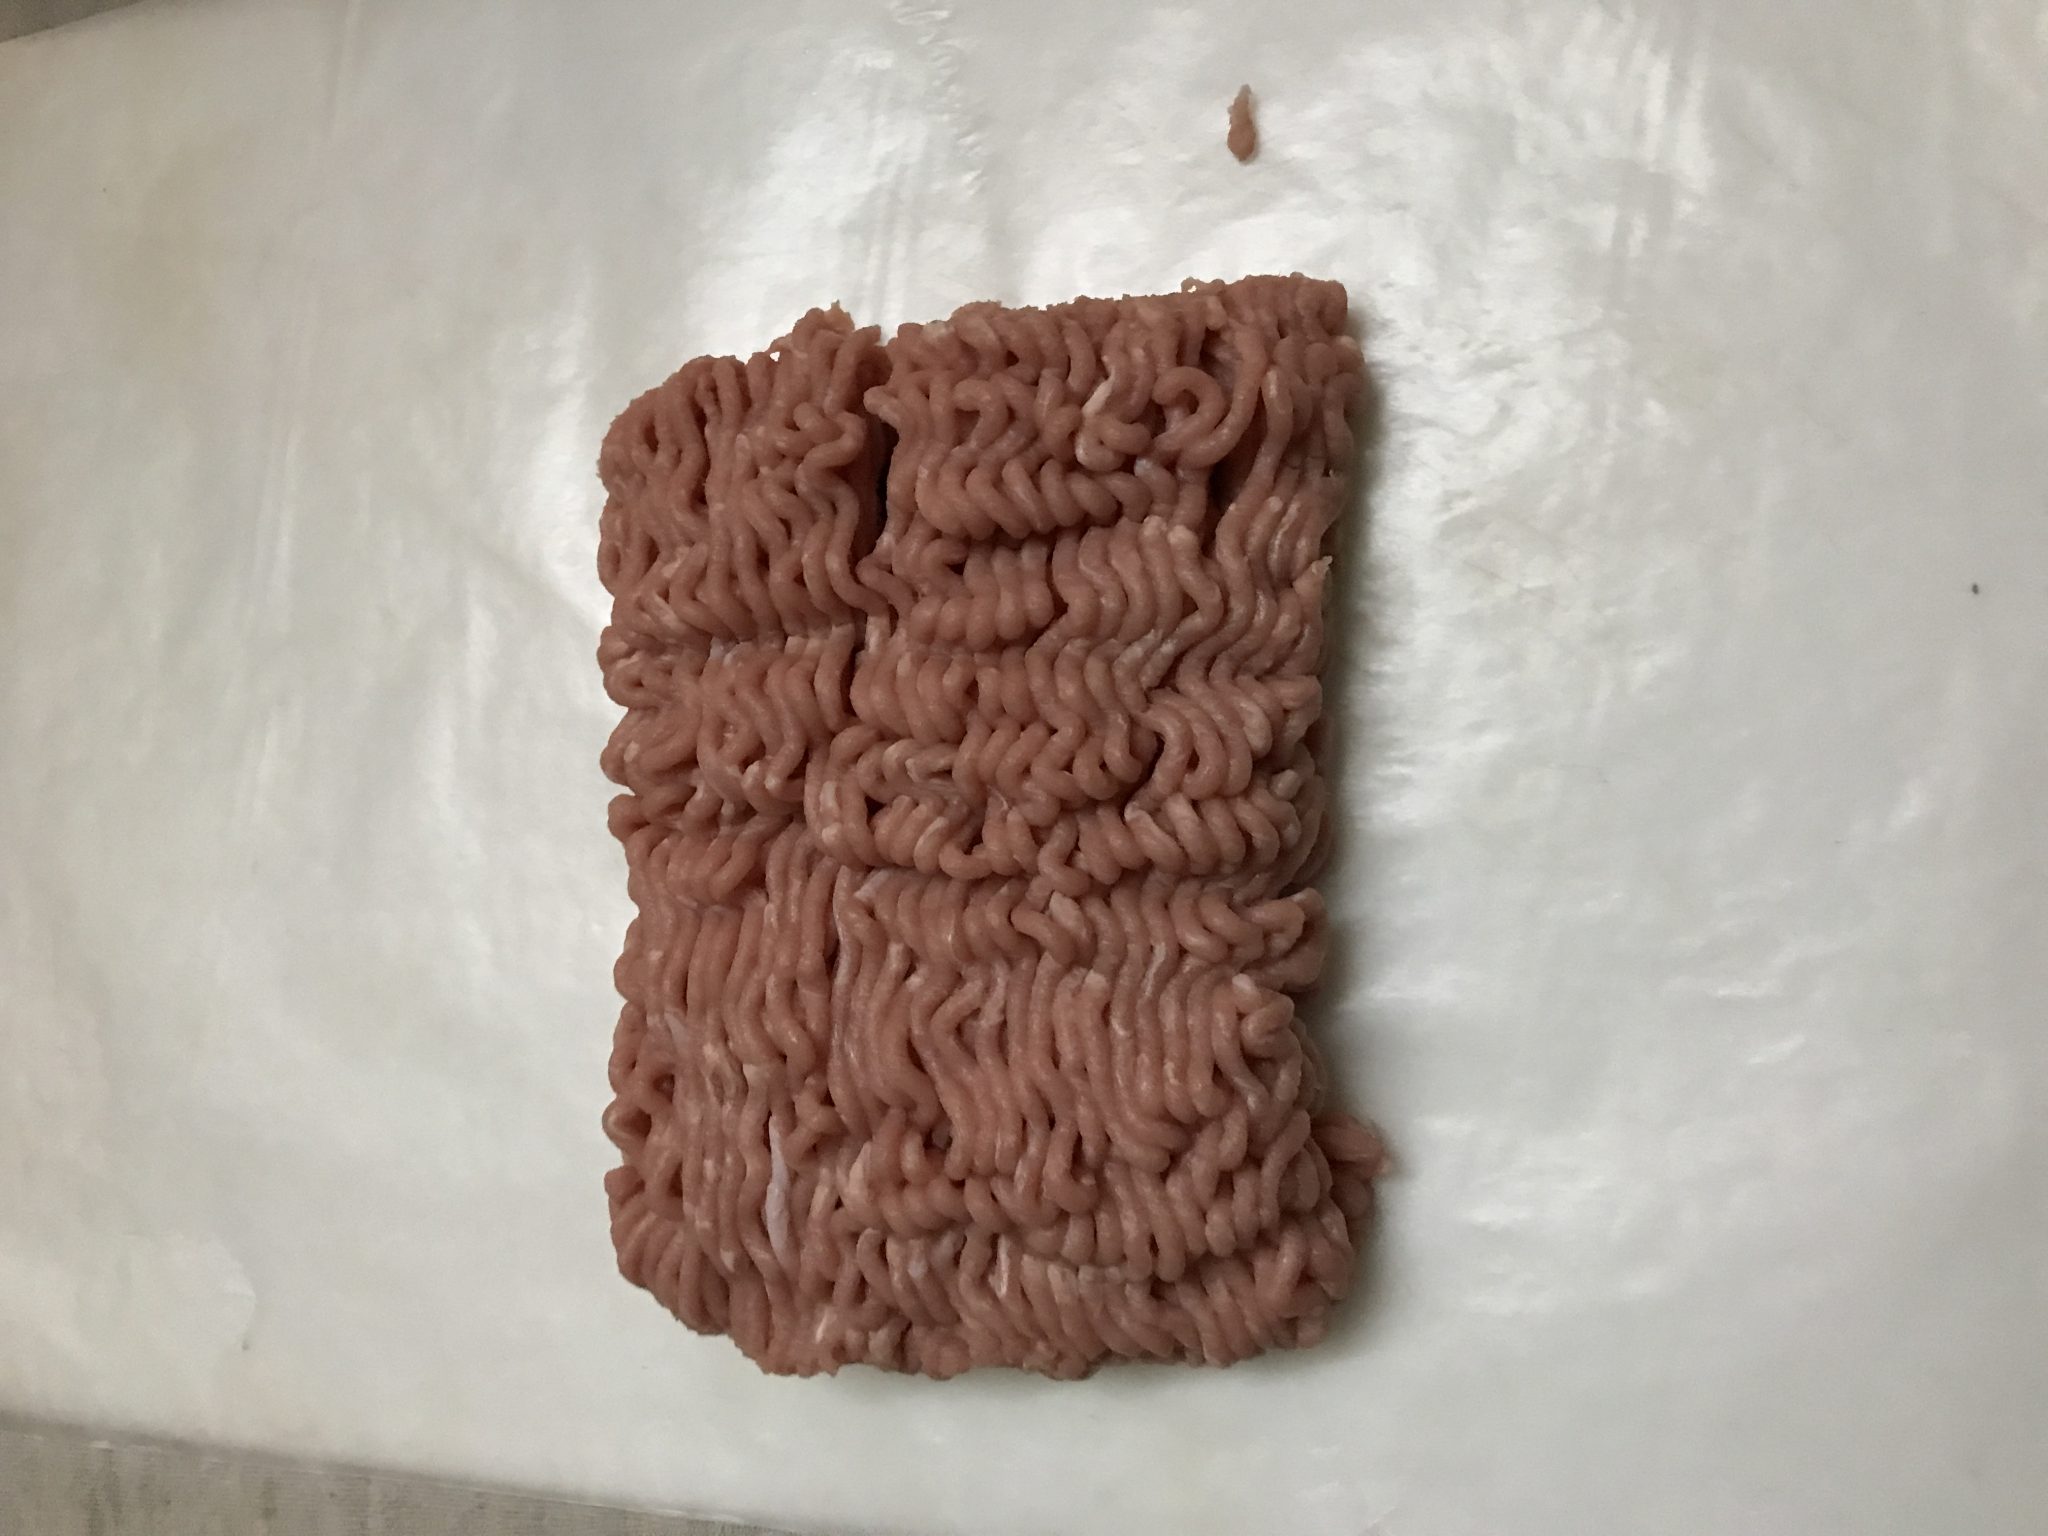
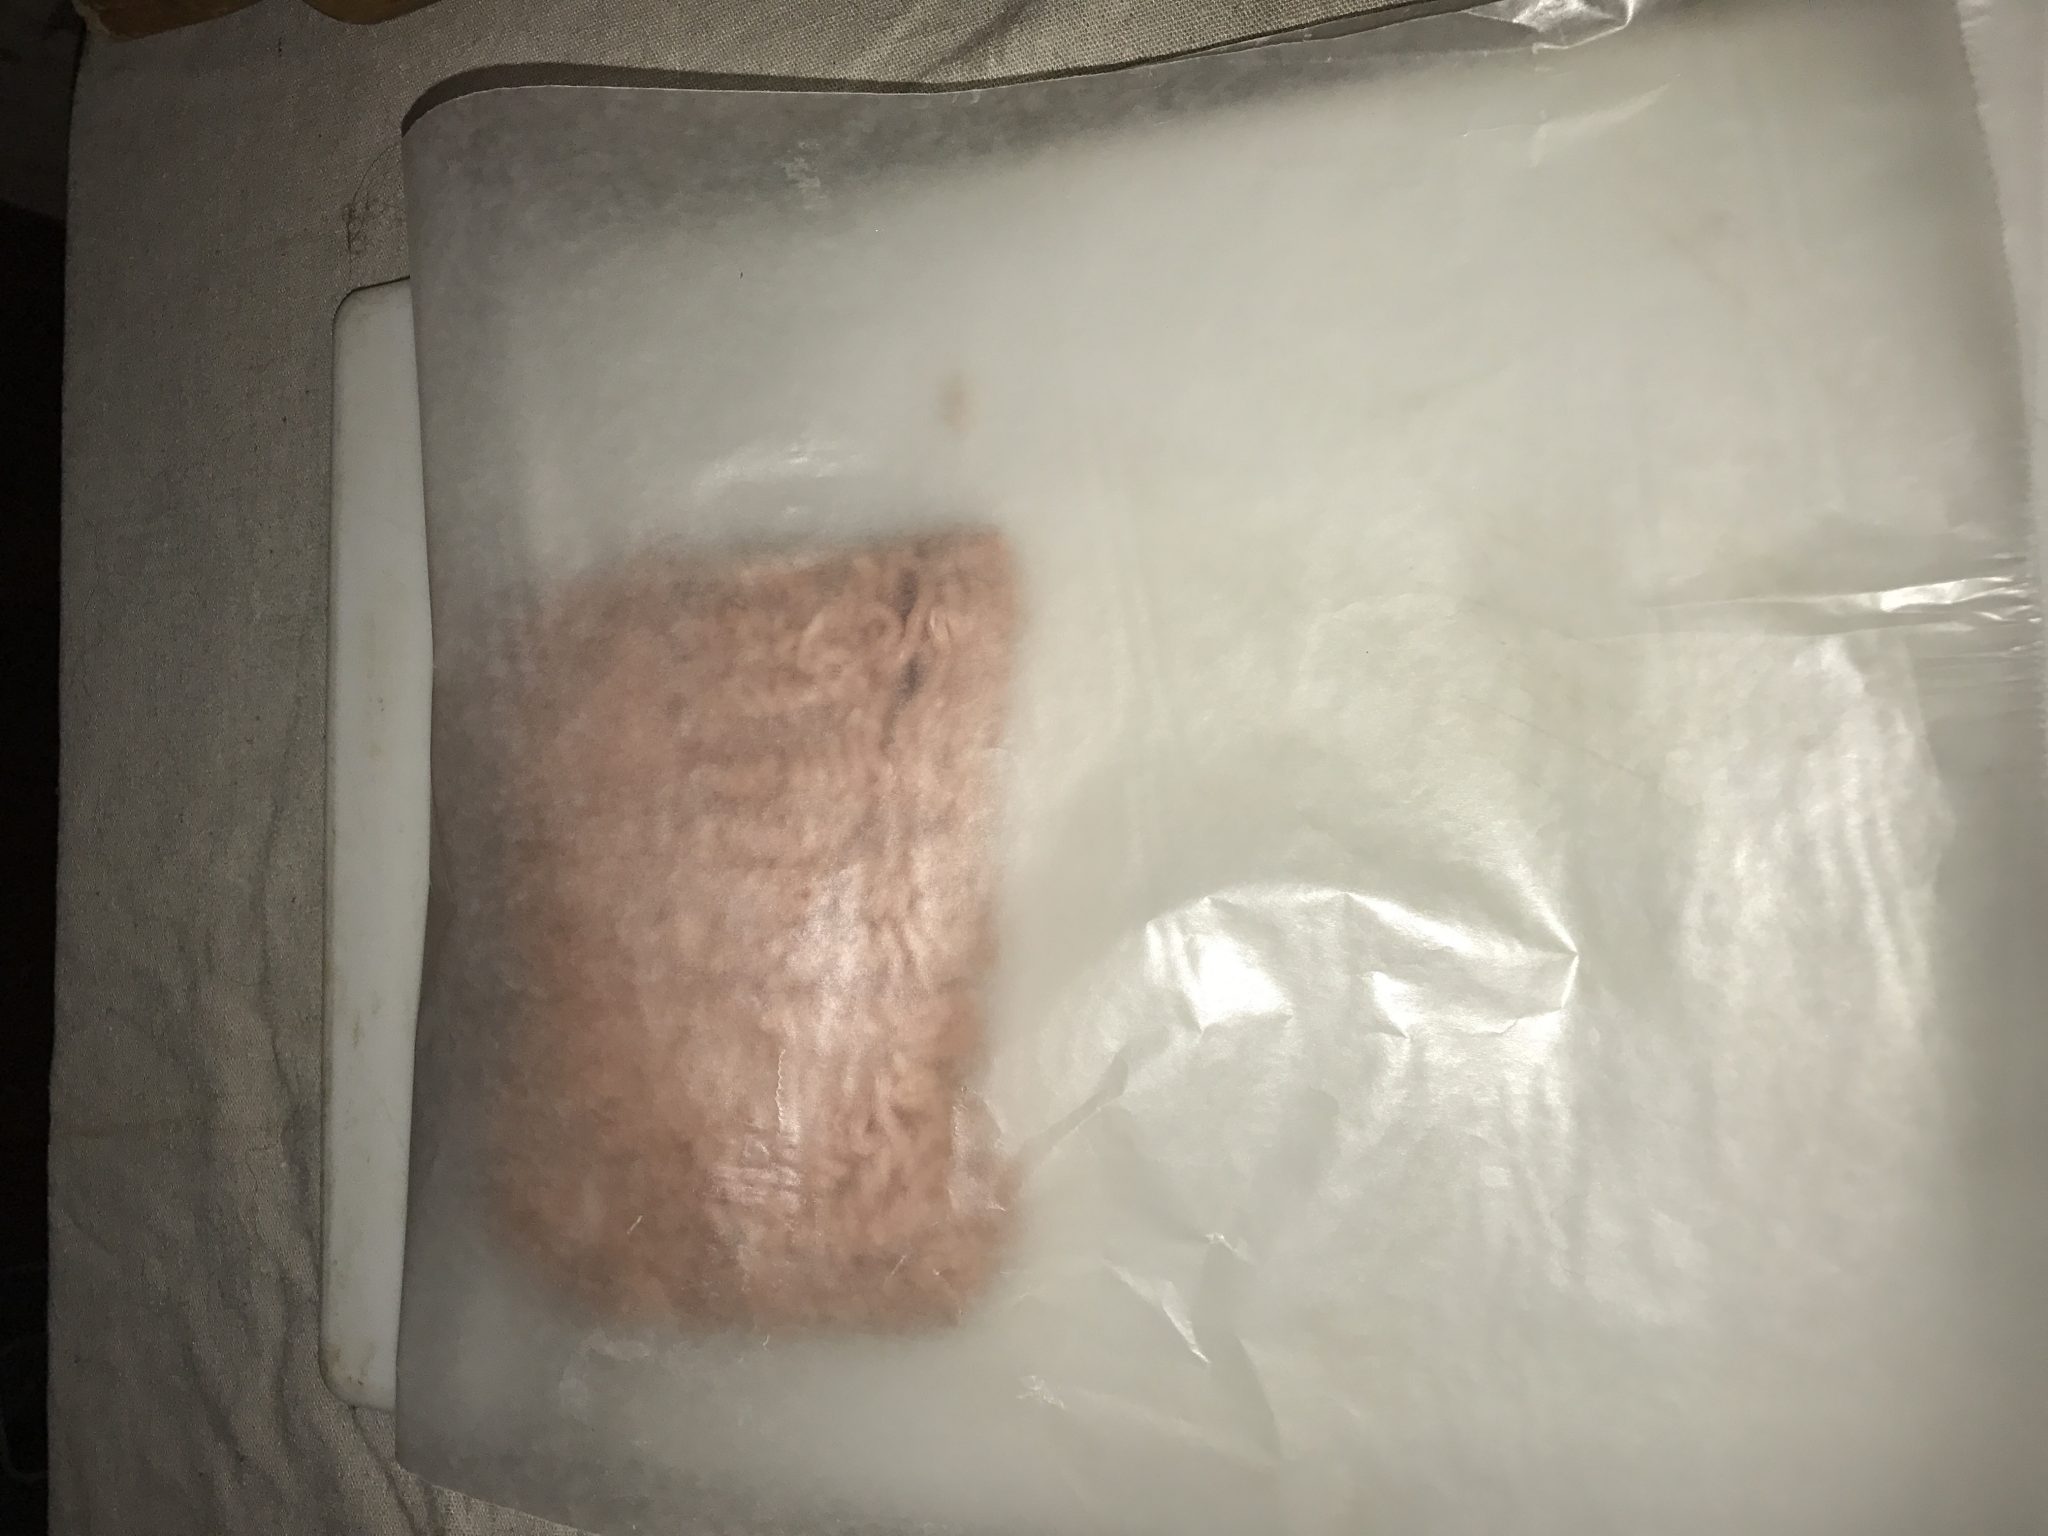 Place your meat at the middle portion of the wax paper. Then fold the wax paper over the meat, so the top and bottom ends meet.
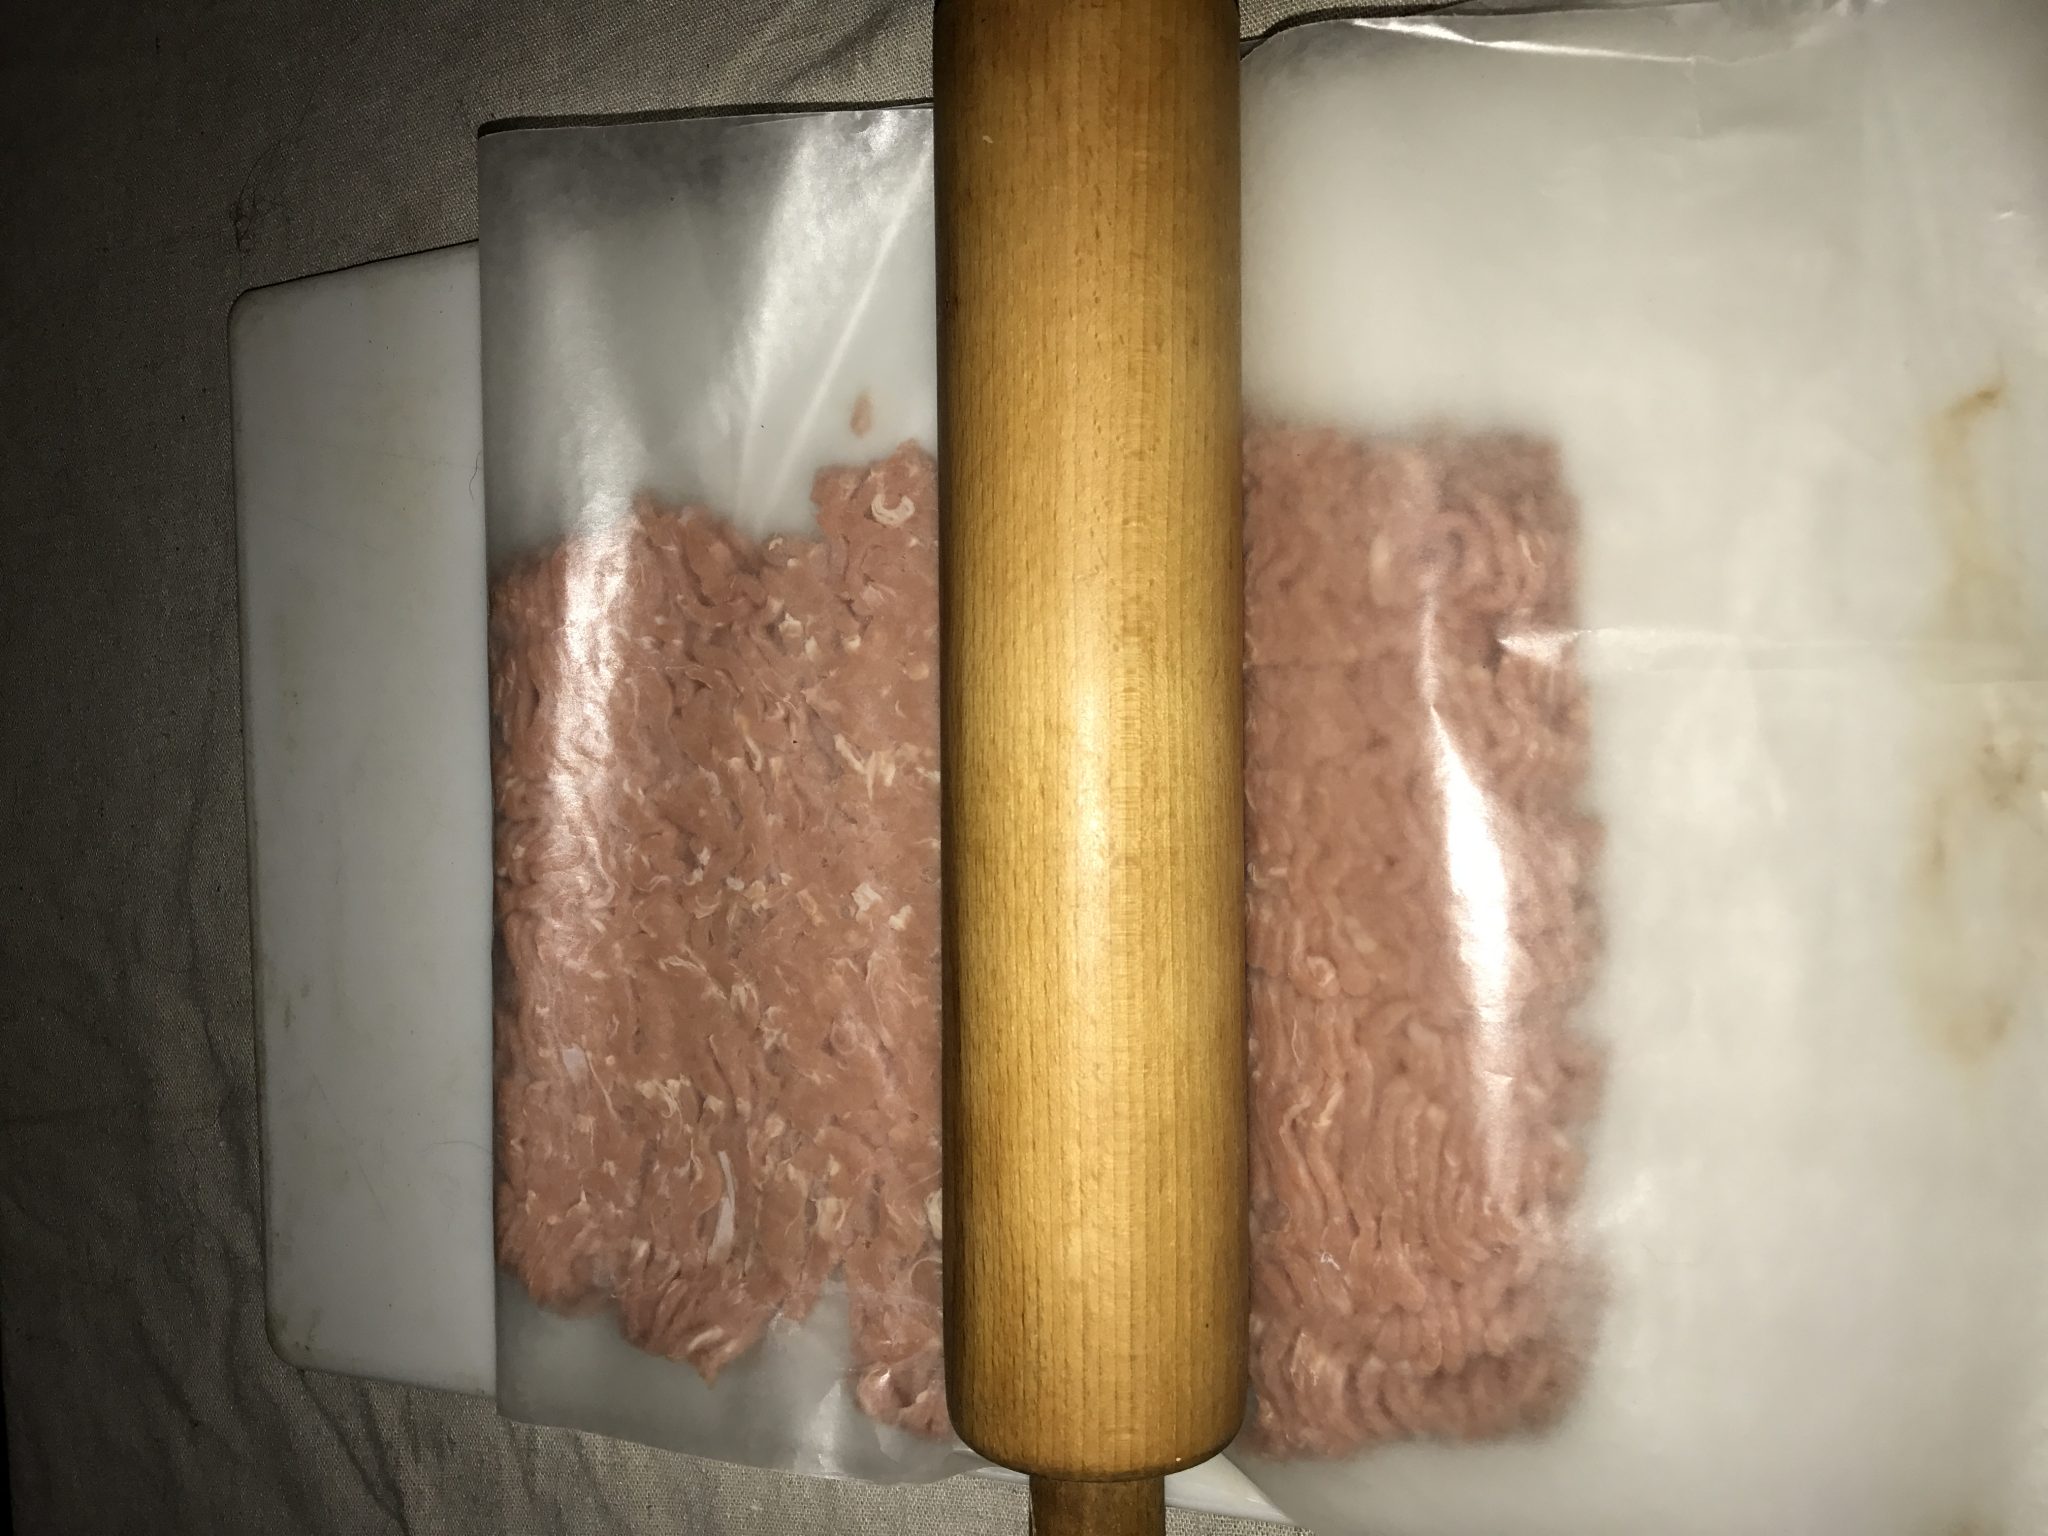 Roll the meat to the desired thickness.
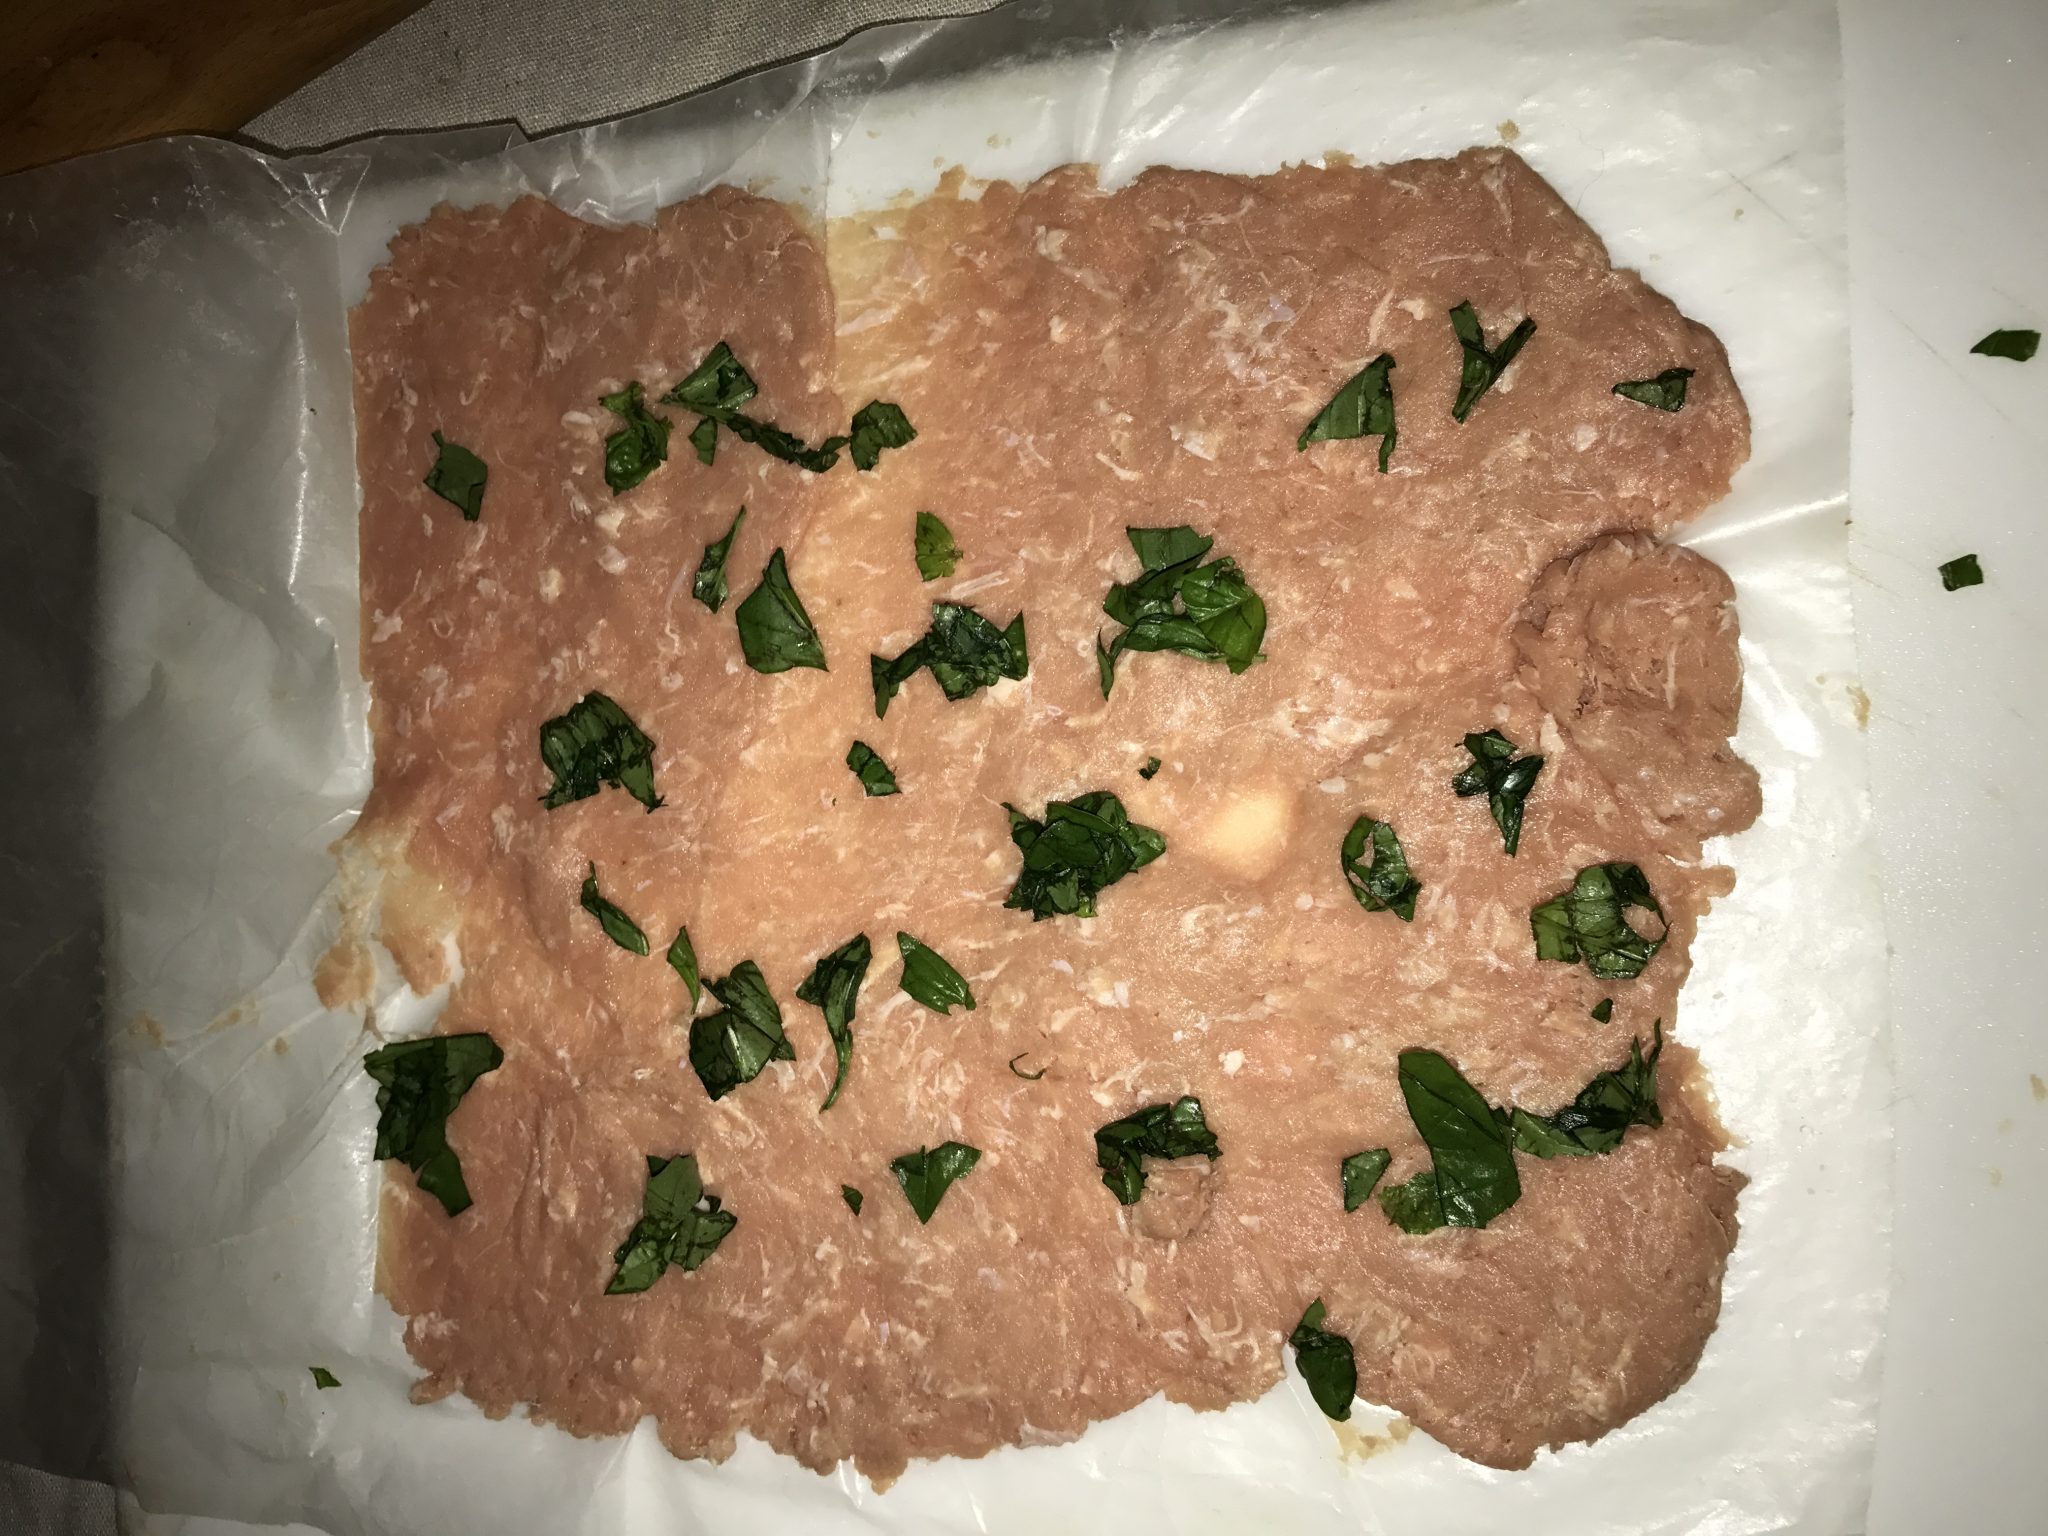
Top with fresh or dried herbs, if desired. I chose basil. These can also be mixed into the meat before rolling it out.
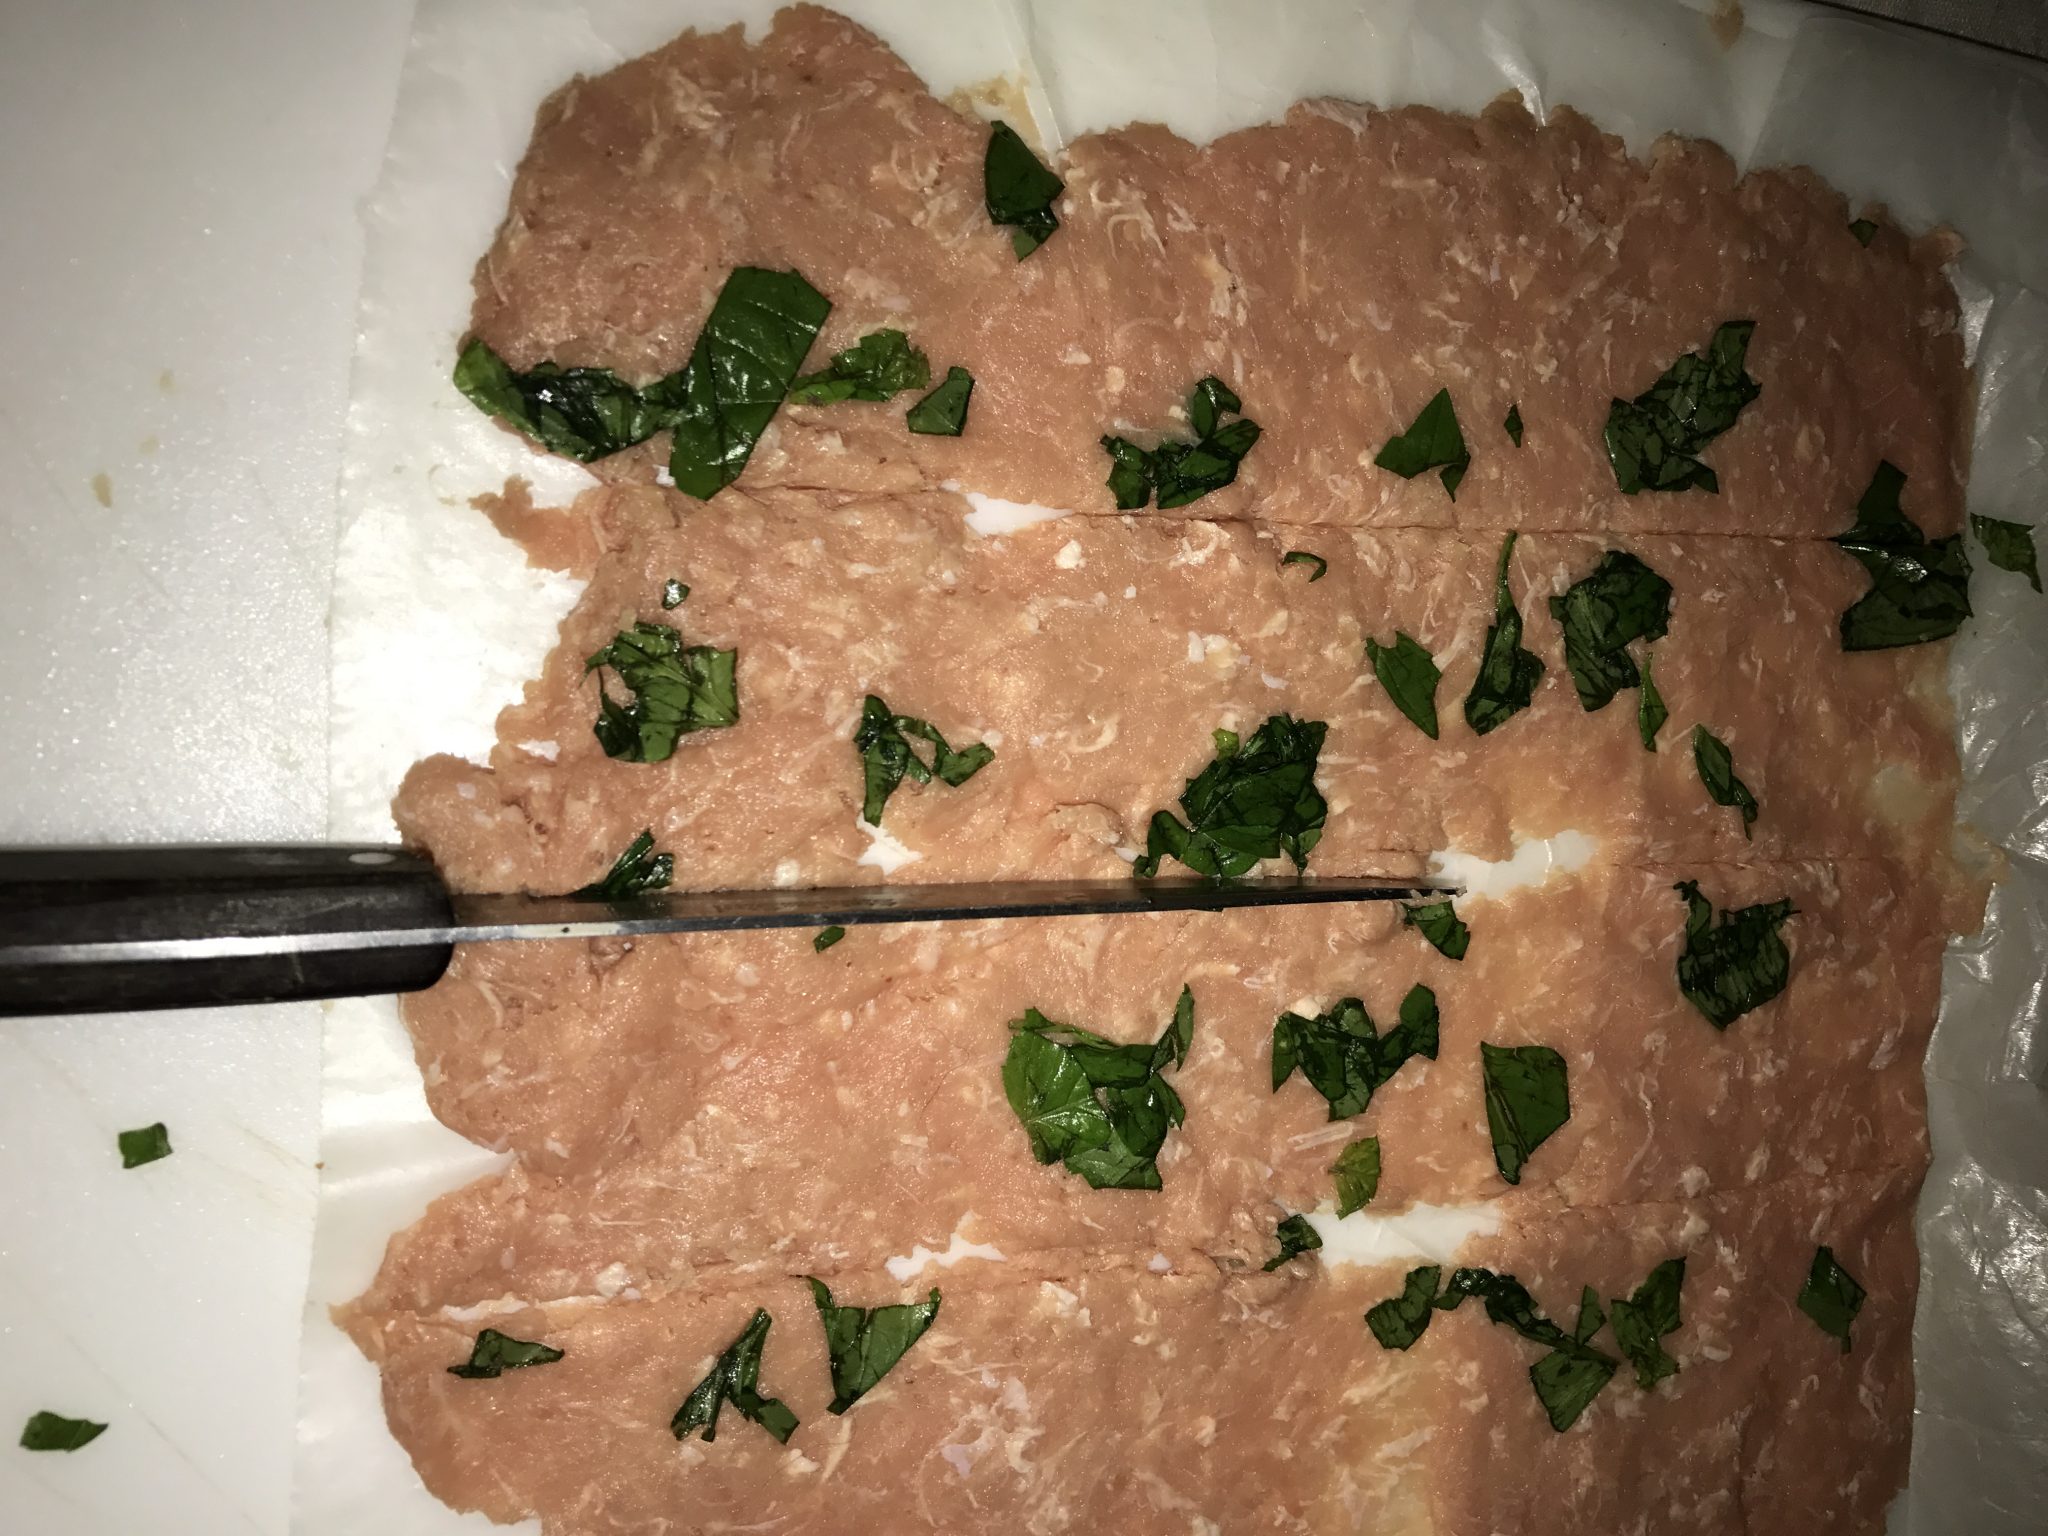
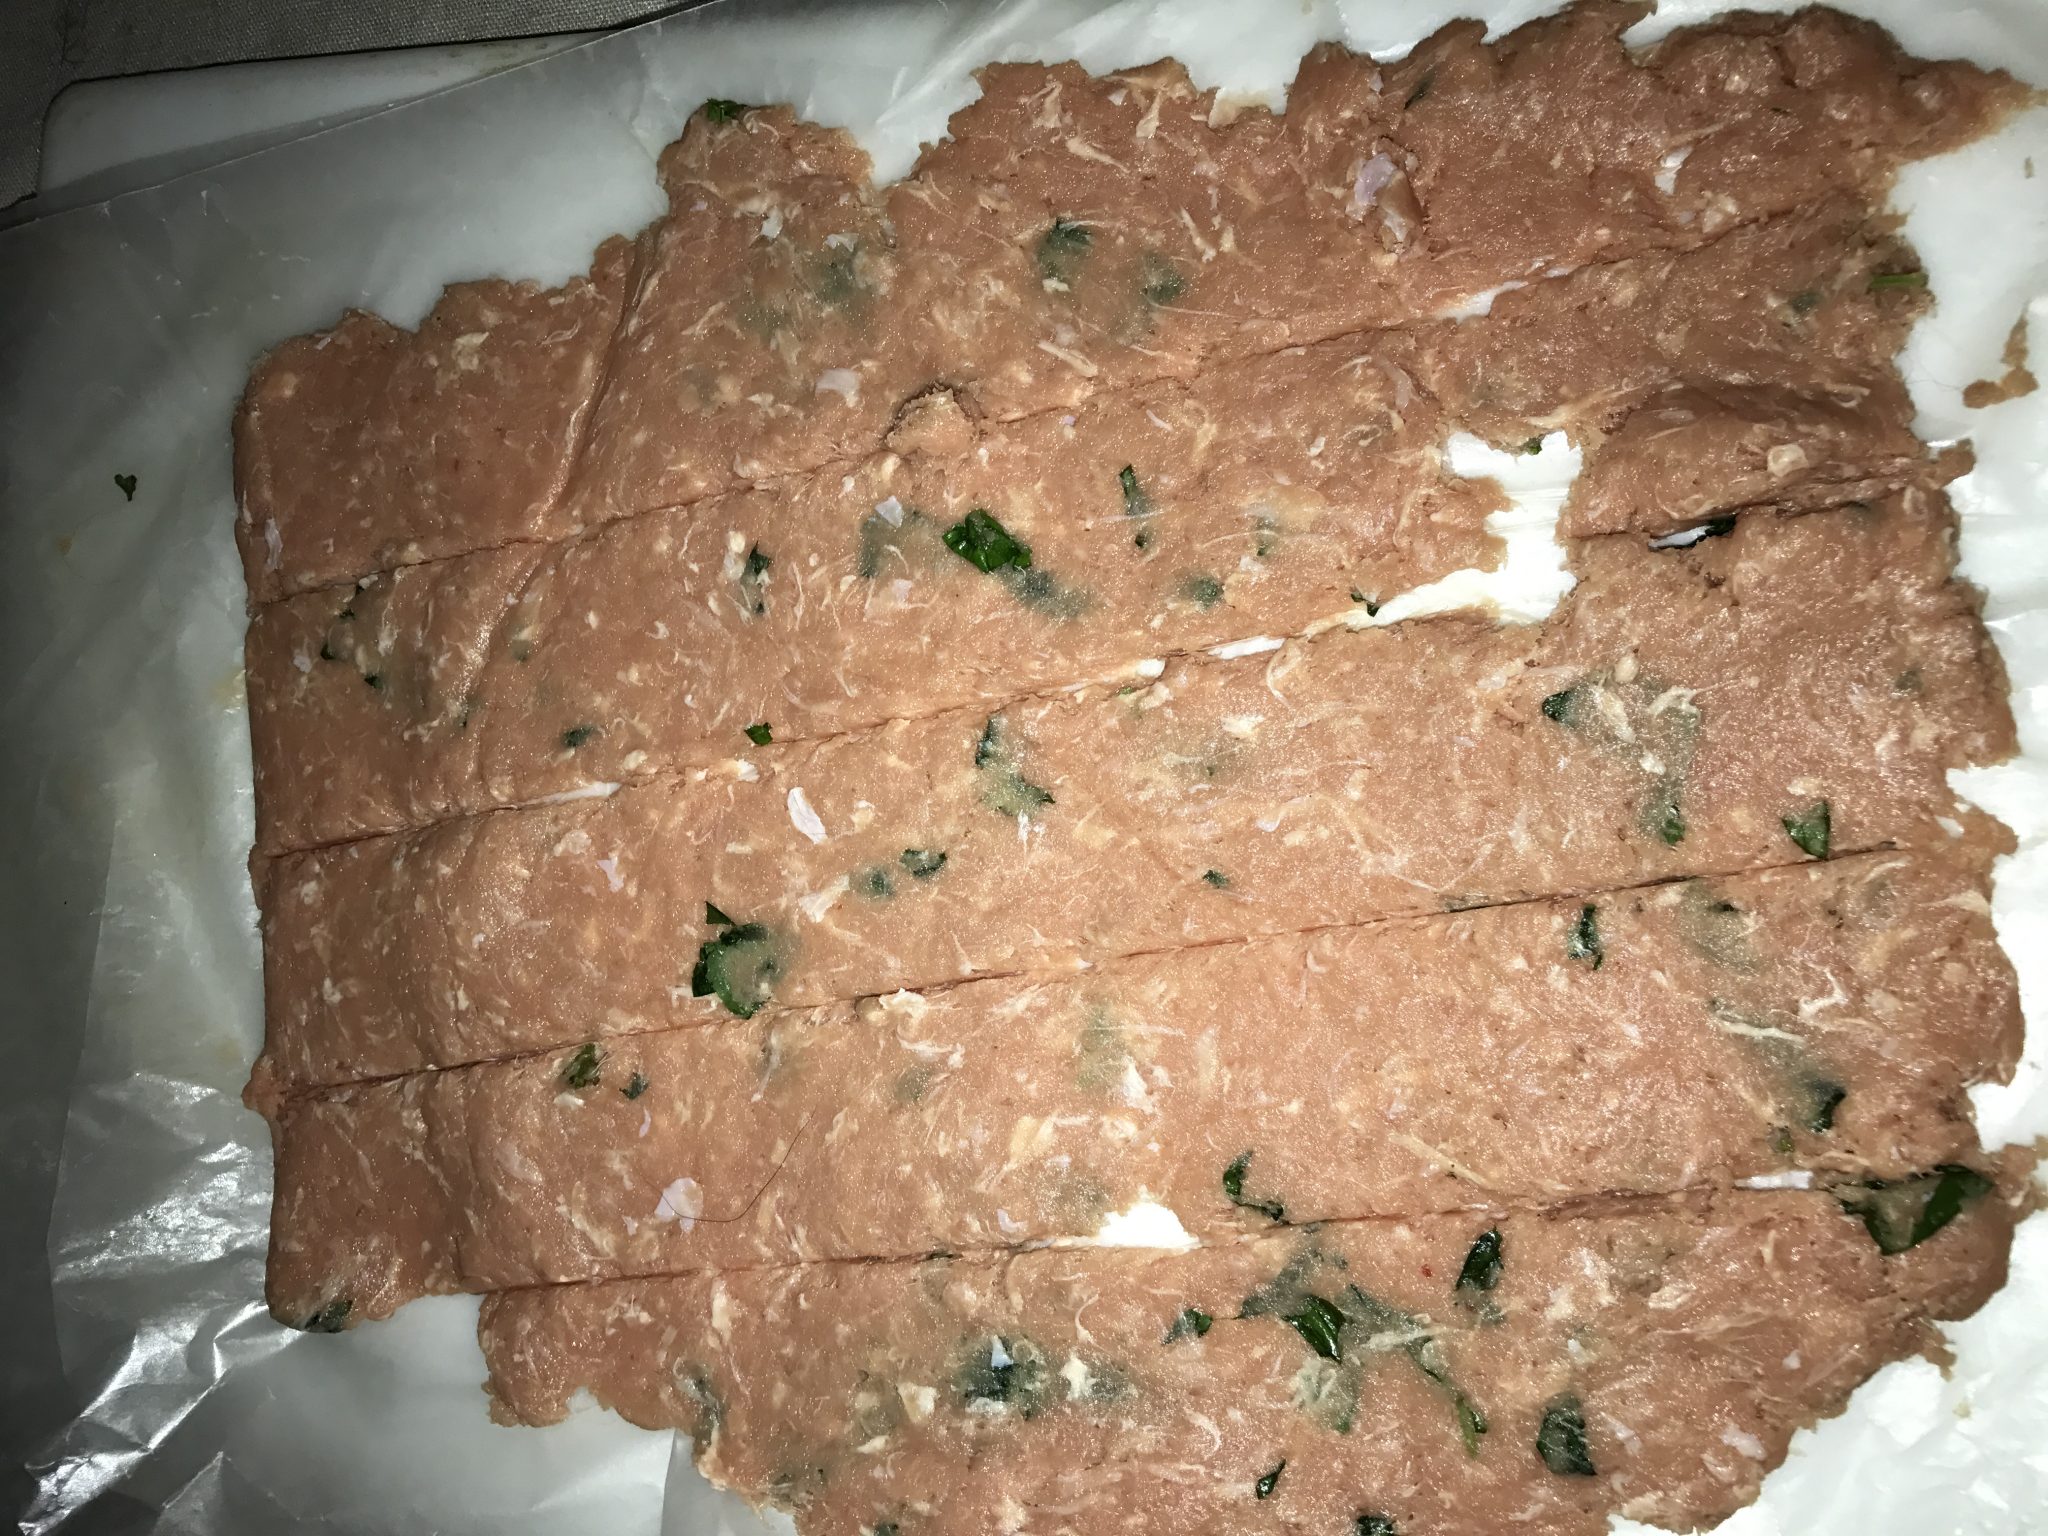 Using a knife or pizza wheel, cut the meat into strips. The meat shrinks when dehydrated, so don’t be afraid to make your strips big.
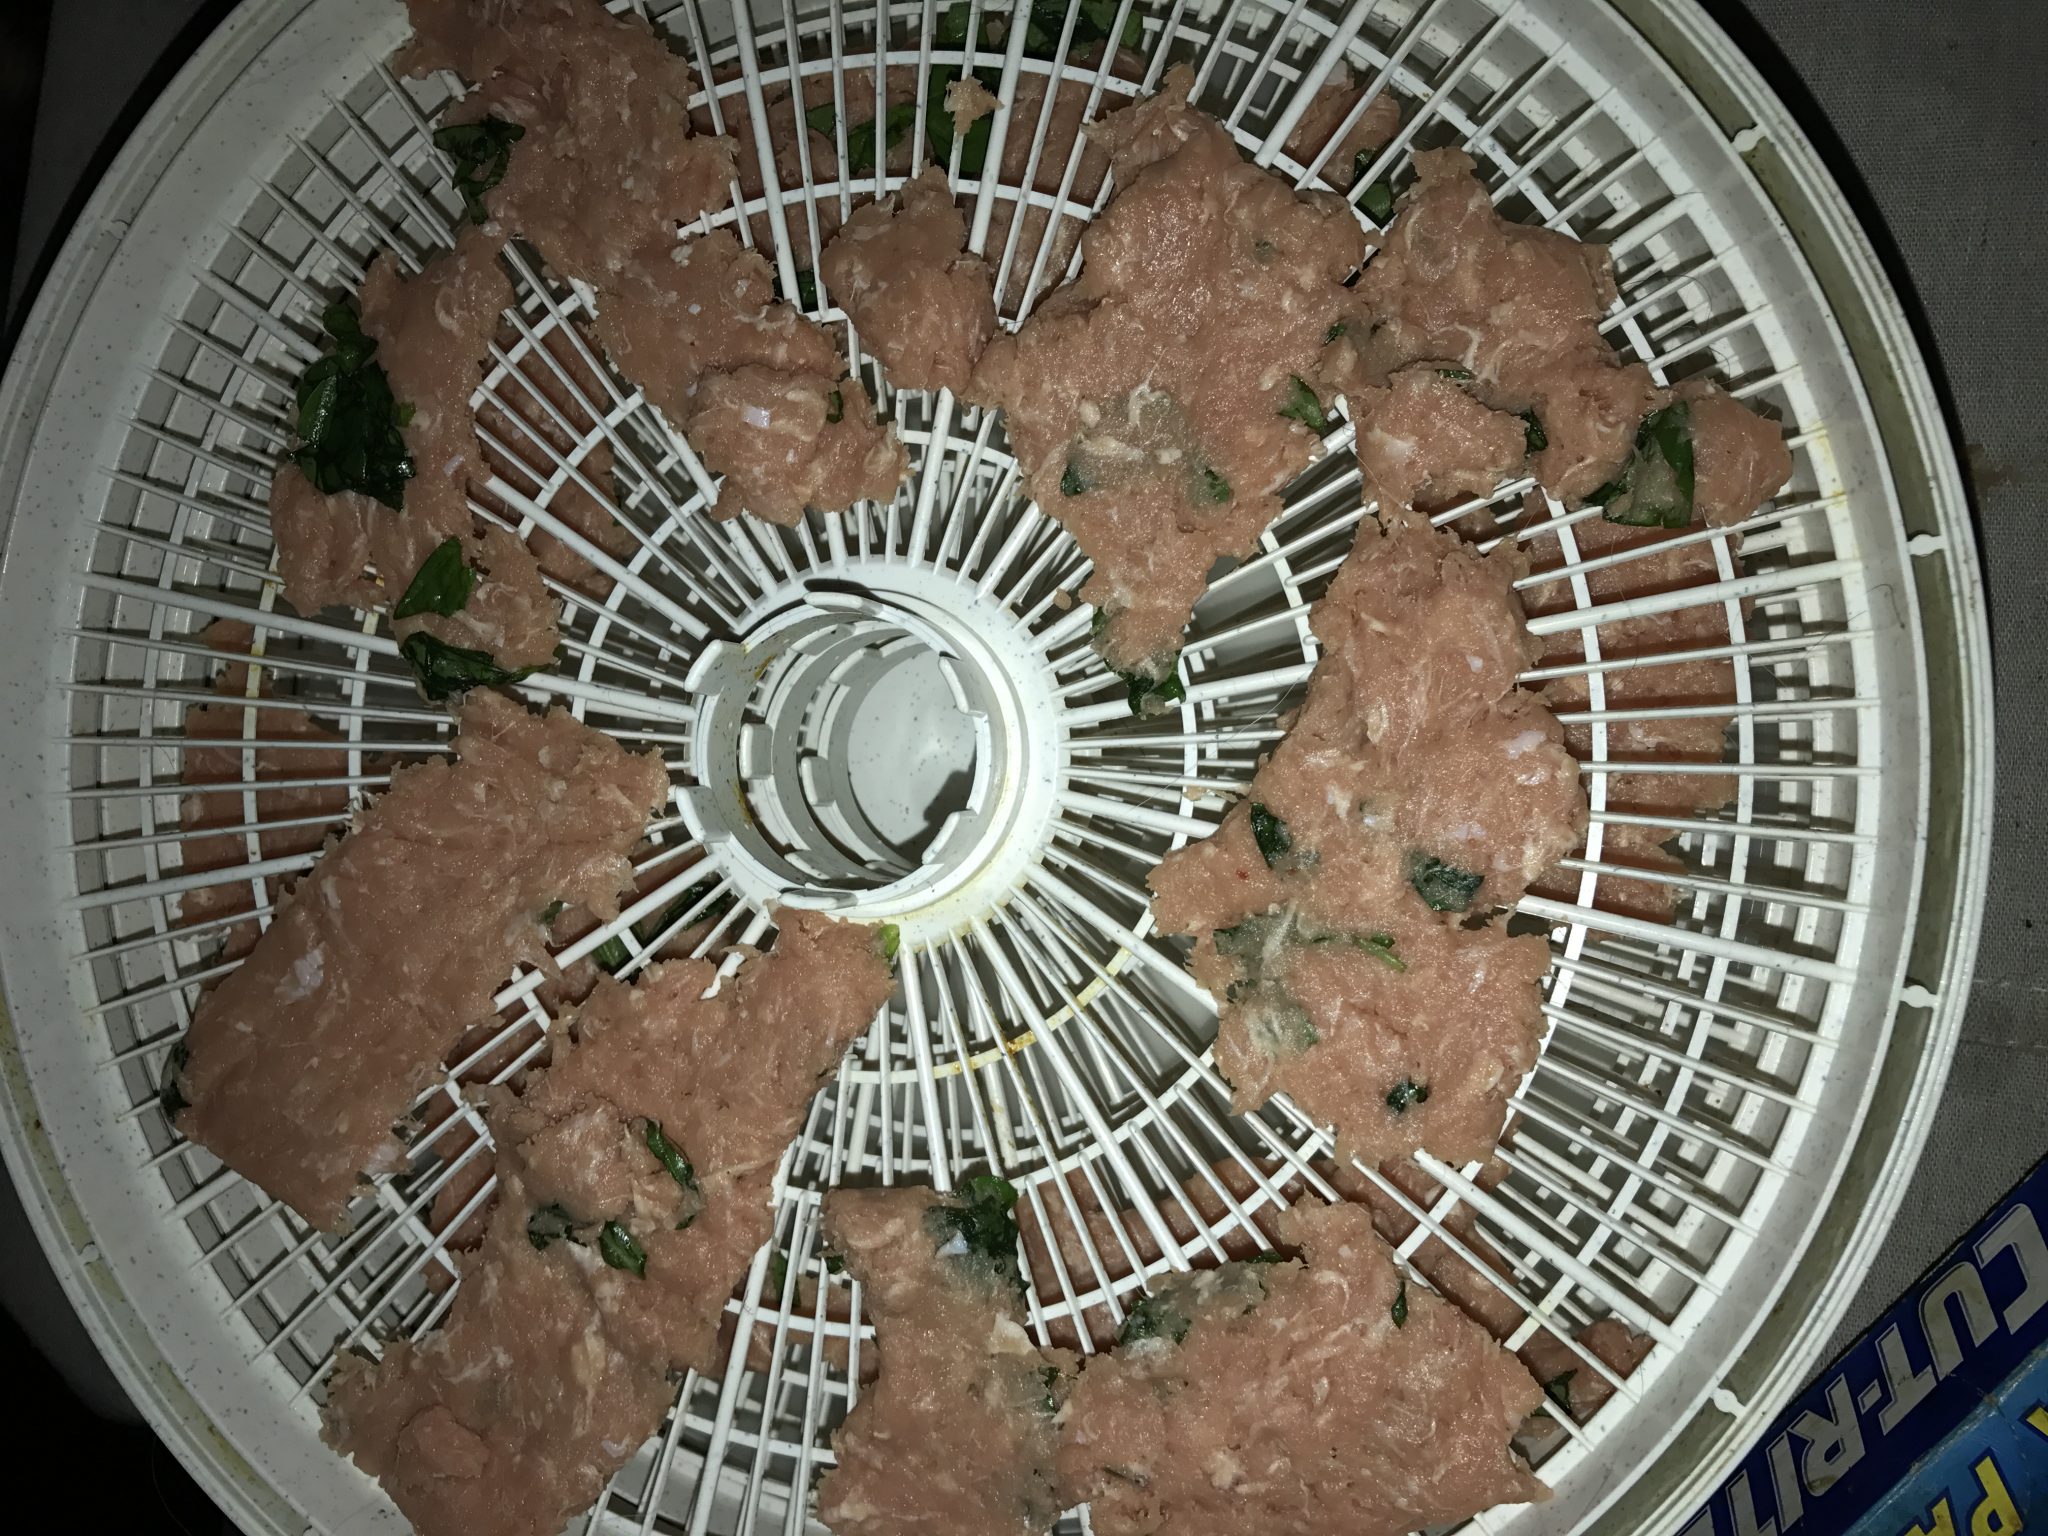
Using a spatula, life the strips off the wax paper and place the strips on the dehydrating trays, allowing space for air to flow between the pieces.
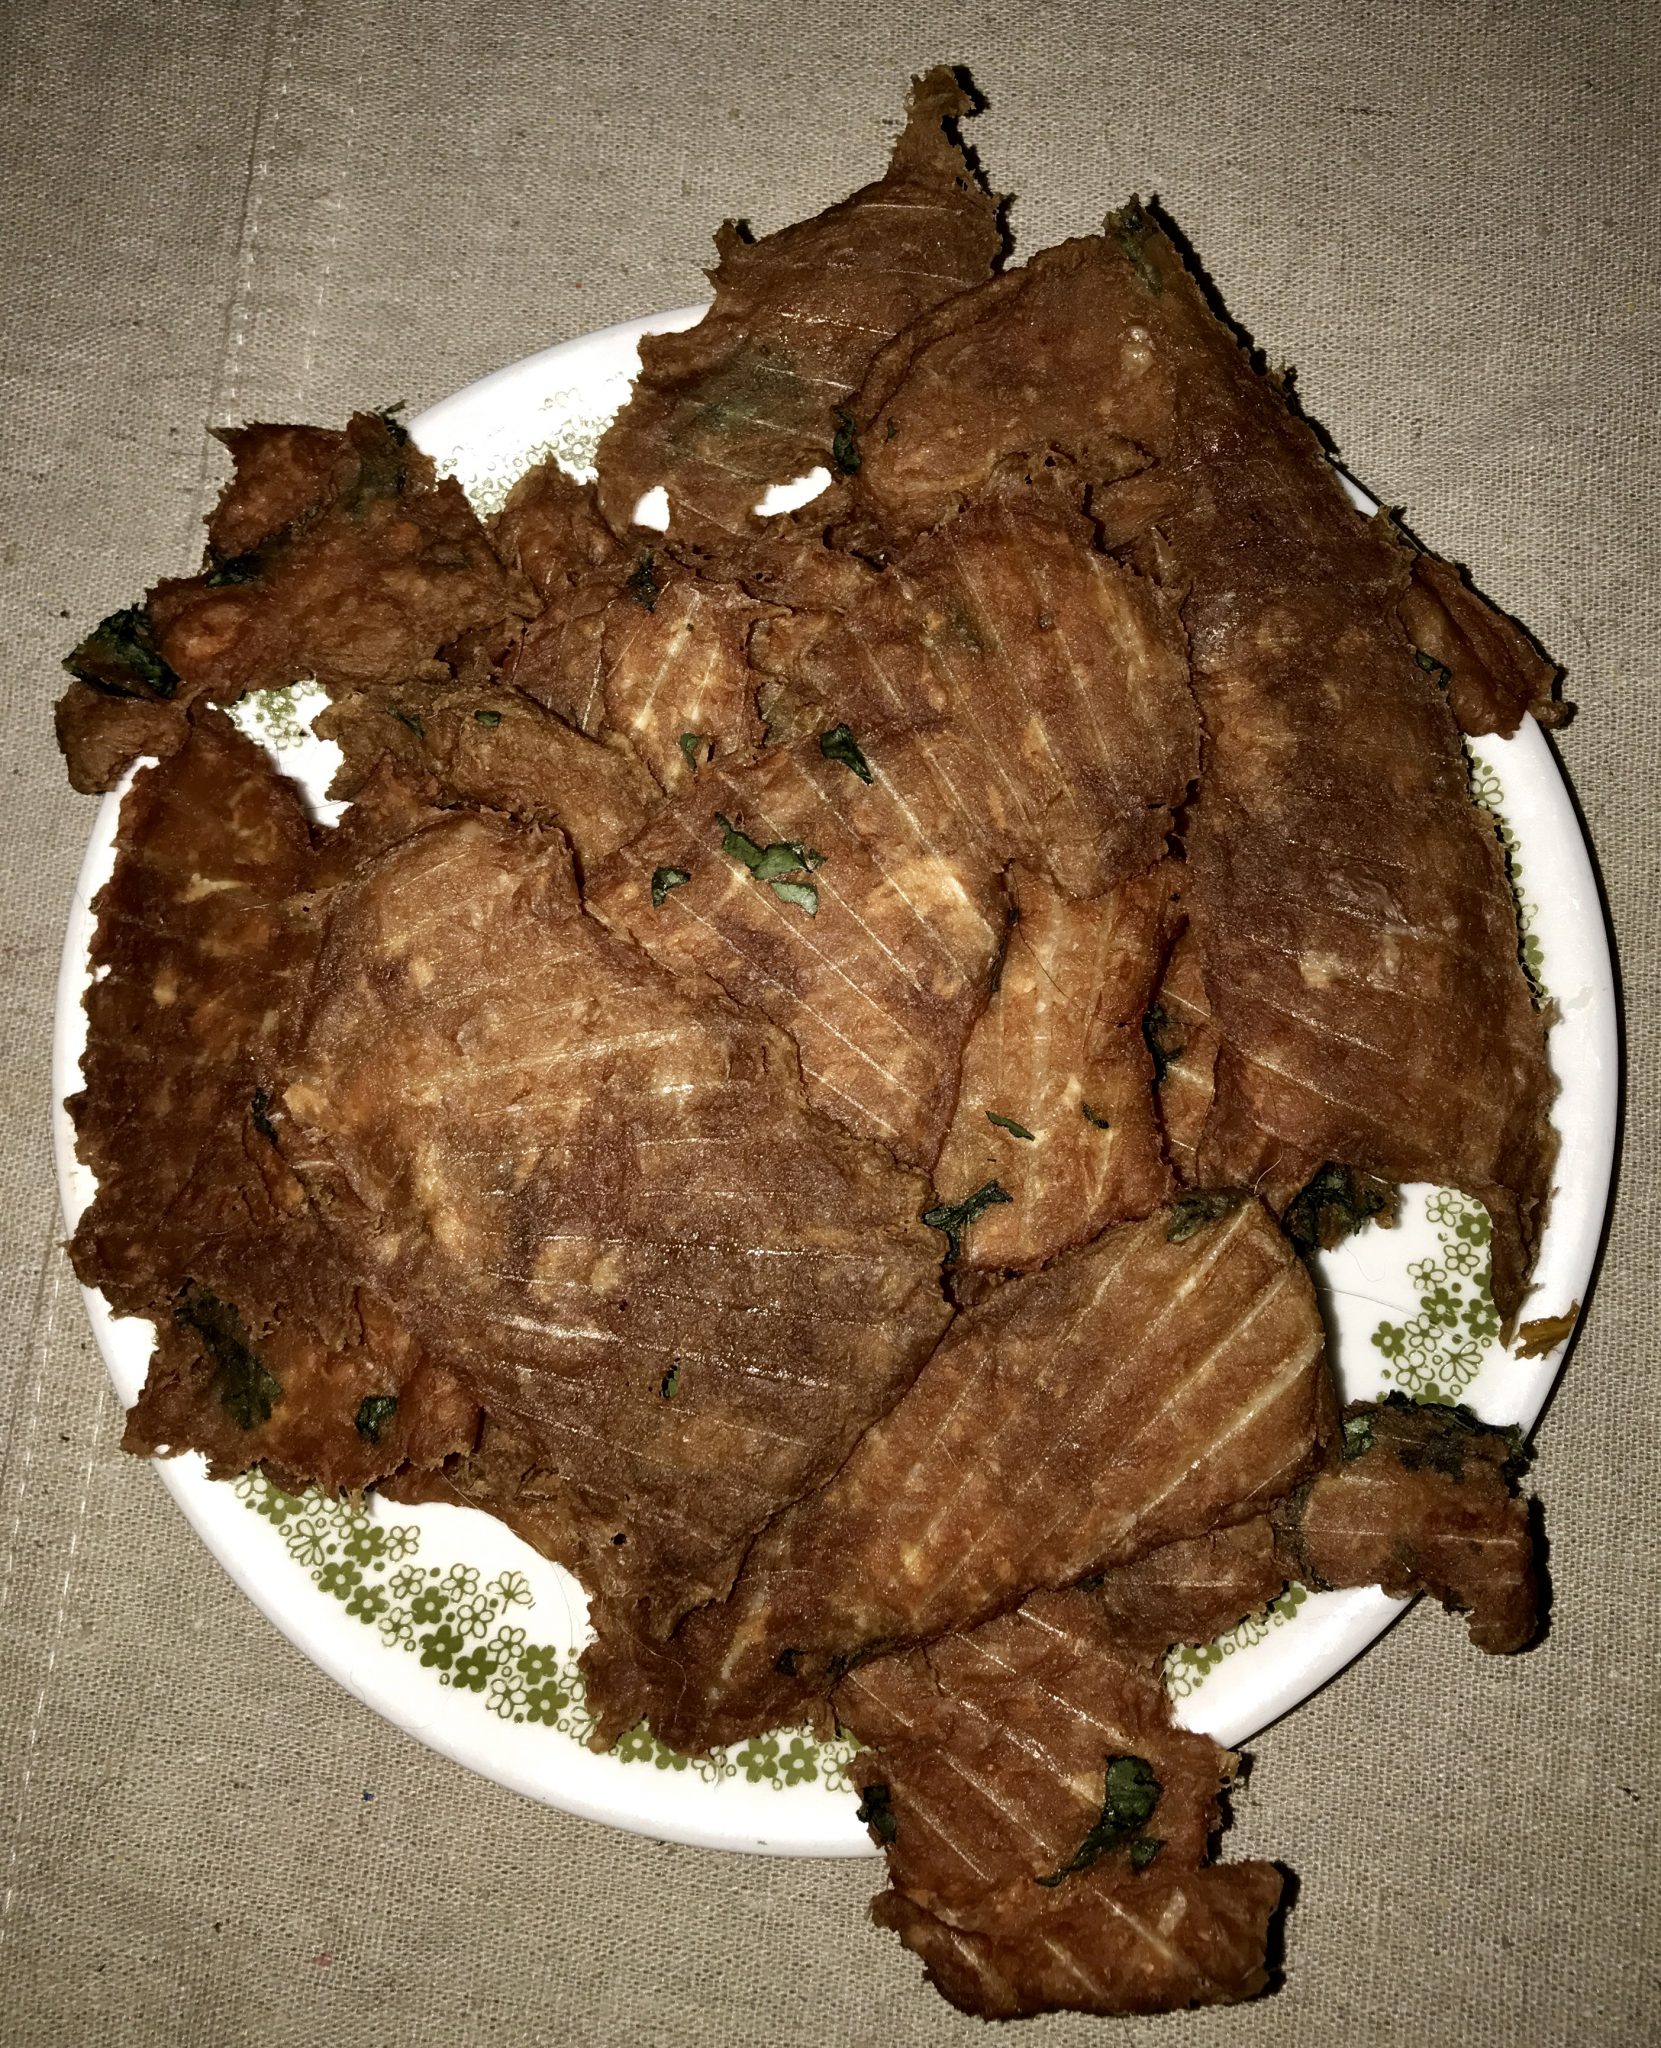
Now, plug in the dehydrator, and walk away! The time needed will vary, depending on the meat you have chosen, how many trays you have filled, and how dry you prefer the jerky to be. A five tray batch of beef for me usually takes 3-4 hours. I check the dehydrator each hour. The meat will not burn if it goes too long, it will just get really crispy. For training treats, I dehydrate until it is just a bit moist to the touch, and is easily torn into small bites. Remember, thinner pieces dry more quickly, as do lower fat meats (poultry). Store your jerky in the refrigerator or freezer — it will mold quickly at room temperature, as there are no preservatives or additives.
For less than 30 minutes work, including clean up, and $1.99 for the meat, I have these tasty turkey basil jerky treats for my dogs’ training session tomorrow!
So what recipes can you come up with? meat combinations, tasty flavorings? Or will you keep it simple for your food sensitive dog? I’d love to hear about your experiences on my Facebook page. Please share your thoughts there!